

Add a movement event
- Select the Movement View button or select View | Movement View from the menu.
- Optionally, select an existing event in the Events window.
- Click the Add Event button or select the Edit | Add Event) menu option.
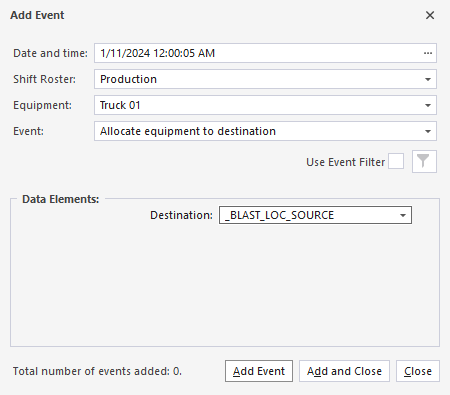
A great deal of care should be taken adding an event. The sequence in which you add events is very important. For example, A haul truck cannot dump ore if it has no operator.
- Accept the default Date/Time or specify the Date/Time of the event you are adding.
By default, the date/time will be 1 second after the event that is currently selected in the grid. If no event is currently selected, the default date/time will be 1 second after the shift start time.
If the currently selected event's time is earlier than the shift start time (as is the case for Roll-over Events), the default date/time will be 1 second after the shift start time.
To set the date/time use the mouse to select the component of the date and time you want to change, then use the increment/decrement controls to change the selected component.
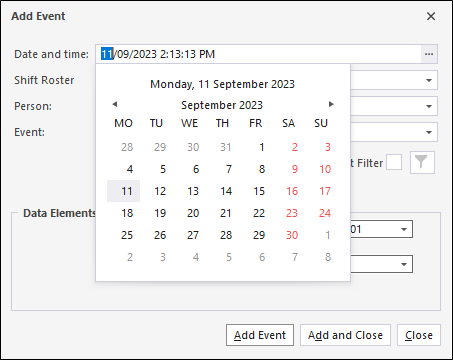
If the date and time you specify is invalid, the date/time will be set back to the default date/time.
- Select the Equipment you want to add an event for from the drop-down list.
The Equipment list is restricted to equipment that was active during the shift.
- Select the Event that you want to add from the drop-down list. Typically, you will allocate equipment to a location or record an attribute against equipment.
- Select Data Elements from one or more drop-down lists. The data elements you select will depend on the type of event you have selected. For example, when allocation equipment to a destination, a Location attribute must be selected.
- Click the Add Event button, to add the event and keep the dialog open.
To cancel (i.e. close the dialog without adding the event), click Close. If you have finished adding events for locations, click the Add and Close button.