

Create Multiple Views
The Event Editor groups events into (Equipment, Location, Person, Shift and System) event categories. By default, each category has its own data view. It is also possible to display multiple views for each category.
New View
- Right click on the tab of an existing view and select Create New View from the right-click menu.
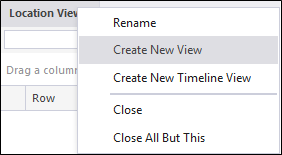
Selecting this option will create a new tabbed view which is an identical copy of the original view. The new tab will inherit the first part of the name of the original tab, plus a new numeric suffix which is one more than the original view (i.e. Equipment View 2). The copied view will inherit the filter, column and sort settings of the original view.
- If required, use the right-click menu to Rename the tab.
- Once the view has been copied, you can change the filter, column and sort settings of the new view.
This allows you to display different columns, in a different order, in different grids. When you subsequently move between views (or close the editor) the application will save and later restore the filter, column and sort settings of each view.
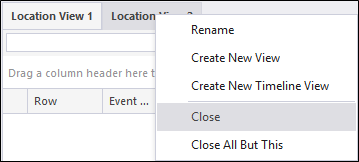
- The right-click menu for a tabbed view allows you to close the current view (Close), or close every view except the current view (Close All But This). The exception to this is when there is only one tabbed view open.
New Timeline View
- Right click on the tab of an existing view and select Create New Timeline View from the right-click menu.
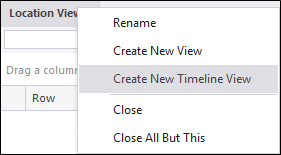
This option will create a new timeline view, which displays object status changes during selected shift.
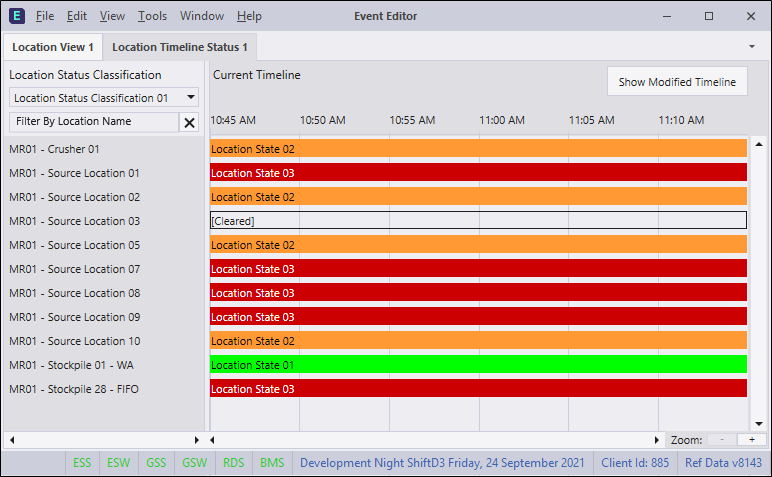
The timeline view allows you to run through events from the selected shift and regenerate locations status change events, which may have some difference from an existing one: For example, if the event which triggered the location status rule was edited or deleted.
To display the modified timeline panel, click the Show Modified Timeline button in top right corner. Deselect the Show Only Modified option to display both panels side by side.
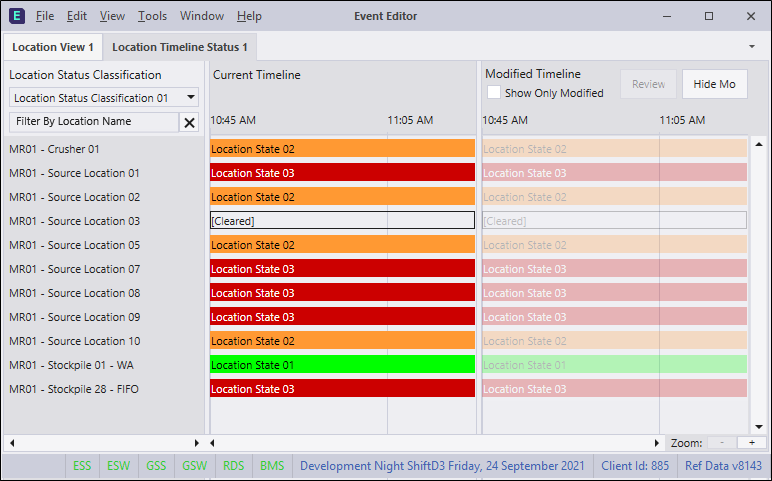
Note: You may need to Refresh the Modified Timeline panel using the button provided.