

Create an Activity Sheet
Activity sheets detail the work undertaken during a shift - such as the operators, locations, hours, equipment and consumables used.
To create an activity sheet, click on the Activity Sheet service icon and then click on the Configuration option.

The Configuration screen is displayed.
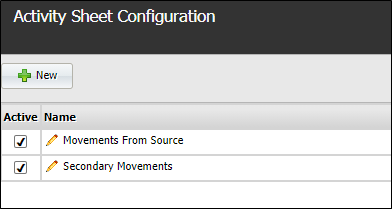
The Configuration screen lists the configured activity sheets.
To begin creating a new activity sheet, click the New button.
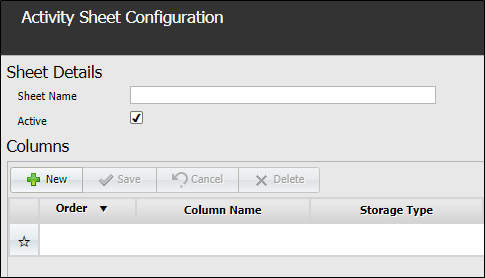
Enter a name for the new activity sheet in the Sheet Name field provided.
If you select the Active check box, the activity sheet will be active and available to the operator. Without this check box selected, the activity sheet will not be available to the operator.
To add a column to the activity sheet, either click in the first line or click the New button.

The Order cell is populated with the order in which the column will appear in the activity sheet.
Enter a name for the column in the Column Name cell.
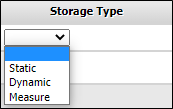
Use the Storage Type drop down to select the type of data that will be collected in the column. The options are as follows:
-
Static Activity Sheet activity sheet fields can be processed immediately by the Reporting service. Static fields are Lookup type fields which present a list of items for selection.
-
Dynamic Activity Sheet activity sheet fields are not visible to the standard reports service and can only be modified by a System Administrator or a Micromine Australia Pty Ltd consultant. Selecting a Dynamic field provides a choice of Type.
-
Measure Activity Sheet activity sheet fields contain data that can be assigned to a particular piece of equipment, location or person. Measure fields are Number type fields containing numerical data. You can also set minimum and maximum values for the number and the precision in number of decimal points.
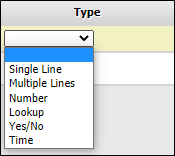
Where a Dynamic storage type is selected, you can set the field Type from the drop down. The options are as follows:
| Data Type | Control Type (as seen in the records in the database) |
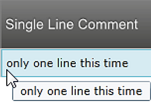
| Single line |
Allows single-line comments to be added to a field. Pressing Enter does not add a new line.
|
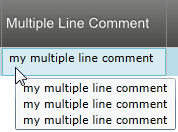
| Multiple lines |
Allows multiple-line comments to be added to a field.
|
| Number |
Numerical data. Allows you to set Max and Min values for the number and the precision in number of decimal points.
|
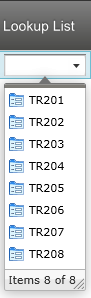
| Lookup |
Presents a list of items for selection.
|
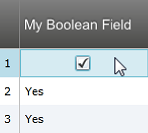
| Yes/No |
For the highlighted record, tick the check box for the Yes/No field to set its value to Yes. Untick the check box to set its value to No.
|
| Time |
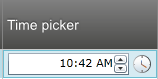
Picks the time of day in minutes. Enter the time in the space provided ( format is hh:mm:am/pm) or click on the clock icon or the up and down arrows to select the desired time.
|

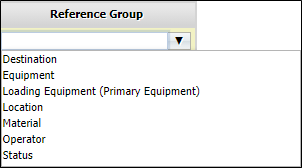
Where a Static storage type is selected, the Reference Group for the column can be selected from the drop down. The selected Reference Group indicates the group from which the column data will be selected.
The options are as follows:
With a Static or Measure storage type selected for the column, you can select from the available Active Lists. This allows you to choose from a subset of permitted options. If no active list is selected, no filter is applied to the column, so all available data is displayed. Only one active list can be used for each field you create.
The Field Name cell is used to enter or select the name for the data field in the column. Where a Static field is selected, the field name will be automatically configured from the Reference Group. If you are configuring a Dynamic field, a custom Field Name can be entered manually. The Measure field will provide a list of configured measure field names from which to choose- such as Hours, Fuel, Metres etc.
The Minimum cell is used to enter the minimum allowable value for a Dynamic Number field for the column.
The Maximum cell is used to enter the maximum allowable value for a Dynamic Number field for the column.
The Decimal Places cell is used to enter the decimal places precision of the Dynamic Number field for the column.
The Active check box is used to mark the column as available for the activity sheet. If this check box is deselected, the column will not be available.
If the Required check box is selected, there must be an entry for the column in every record.
Click the Save button to retain the column details to the activity sheet.
You can add another column to the sheet by clicking the New button, or clicking in the second line.
When all the required columns have been added to the activity sheet, click the Save button in the toolbar at the bottom right to save the sheet.