

Create a permit
To create a permit:
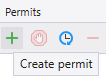
- Click on the Create button at the top of the Permits pane.
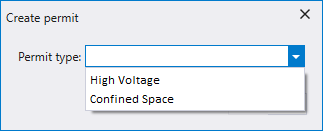
- Select a Permit type in the Create Permit dialog. Permit types are hard-coded as part of Data Acquisition.
- Make selections in the Create Permit dialog.
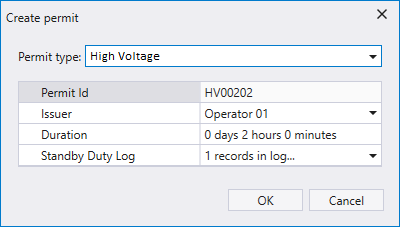
The parameters outline below are an example of Hot Work permit requirements:
Permit
For the permit type you have selected, enter a valid permit ID.
Issuer
When a permit is issued, someone will have authority to issue the permit in a controlled area. Select the person who has the authority to issue the permit.
Expected time
Enter the expected time duration of the permit (in hours and minutes).
Location
To Create a permit controlled area you must first assign it to a location.
Worker
Note that in most cases permits are assigned when people are logged at a Permit Controlled Area.
However, for some types of permit (for example the HOT WORK permit shown here) a person is assigned as part of the properties of the permit. This will be the case when there are two levels of permission required for a controlled area.
For example:
Tom has primary permission to perform essential work in a controlled area, while Dick and Harry (who are logged at the controlled area) have permission to operate equipment and move through the area.
Level 2 Iso Permit
For some types of permit (for example a HOT WORK permit) a permit may need to cross-reference another permit.
This will be the case, for example, when multiple permissions are needed in order to comply with safety regulations.
Scope
Optionally enter notes that indicate the reason why a permit is being issued for the controlled area.
The parameters shown in the example screen (above) are specific to the Hot Work permit type. The parameters you must enter or select will vary, depending on the permit type. Some permit types may require the specification of a main location and one or more secondary location, other permits may require the creation of a duty log etc.
The Create a standby duty log and the Extend a permit duration can be edited after the permit has been created. All other properties in the Permits pane are read-only.
- Click OK to create the permit.
When you create a permit it is added to the Permits pane:
