Upload to Nexus
To upload Supported Objects to Nexus:
-
Right-click on an object and select Nexus > Upload to Nexus.

-
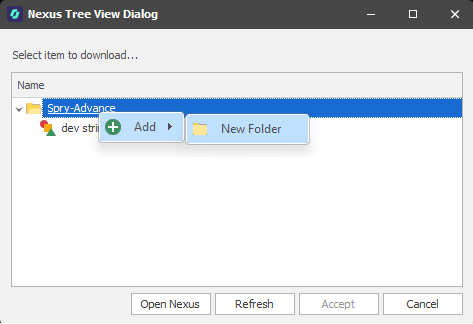
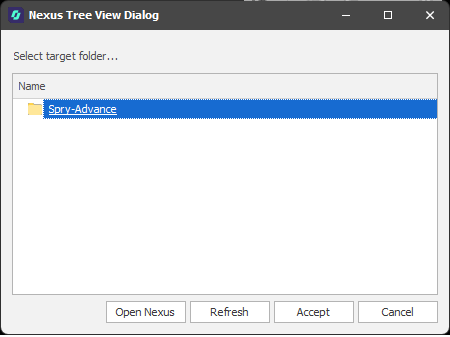
You will prompted to select a target folder as the destination for the uploaded object.
To create a folder, right-click on the Nexus project name and select Add > New Folder. The newly-created folder will be automatically selected as the target folder.
-
Click Accept to proceed with the upload.
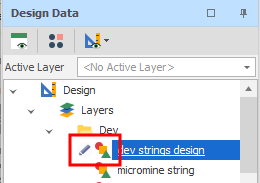
Once an object has been uploaded to Nexus, a Status icon to the left of the layer name in the Design Data pane indicates whether the object is up-to-date, has been changed locally since being uploaded to Nexus, or has been updated or deleted on the Nexus server since being uploaded.
| Icon | Operation/Status |
|---|---|

|
Checking for Updates |

|
Downloading Changes from Nexus |
|
|
Pushing Changes to Nexus |

|
Up-to-date |

|
Modified (local changes) |

|
Revert Local Changes |
  |
Check Out / Check In |

|
Update is available on Nexus |

|
View on Nexus |

|
Deleted on Nexus |
Depending on the status, you can perform the following right-click operations:
Check for Updates
Check the current object for any updates that may have made to the object on the Nexus server.
Download Changes from Nexus
The Download from Nexus option is available when an object on the Nexus server has been updated and is out of sync with your local copy.
A Status (download available) icon to the left of the object name in the Design Data pane indicates that the object has been updated on Nexus:
When you pull changes, the icon next to the tree node changes to a Downloading state:
Push Changes to Nexus
This option is available when the object in the local Micromine Spry project has been updated and is out of sync with the object stored on Nexus.
A Status icon to the left of the object name indicates that the object has been edited locally since it was uploaded to Nexus:
When you push changes, the icon next to the tree node changes to an Uploading state:
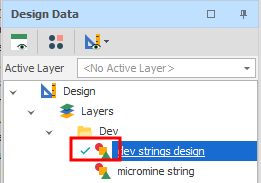
After changes are pushed, the Status icon to the left of the layer name indicates that the uploaded layer is up-to-date:
Revert Local Changes
Select this option to discard local changes and revert to the last version downloaded from Nexus.
If there is no download history available, a Revert operation will download the latest version of the object on the Nexus server. Once a version has been downloaded, subsequent Revert operations will use that version until the object is either updated from the server or until changes are pushed to the server, creating a new version.
Check Out/Check In
Check Out/Check In options allow you to Check Out an object to reserve that object for editing, so that no changes can be made to the object by other users who have access to it. The Check In option will return full access to the object as normal.
For more information, see: Check Out/Check In
View on Nexus
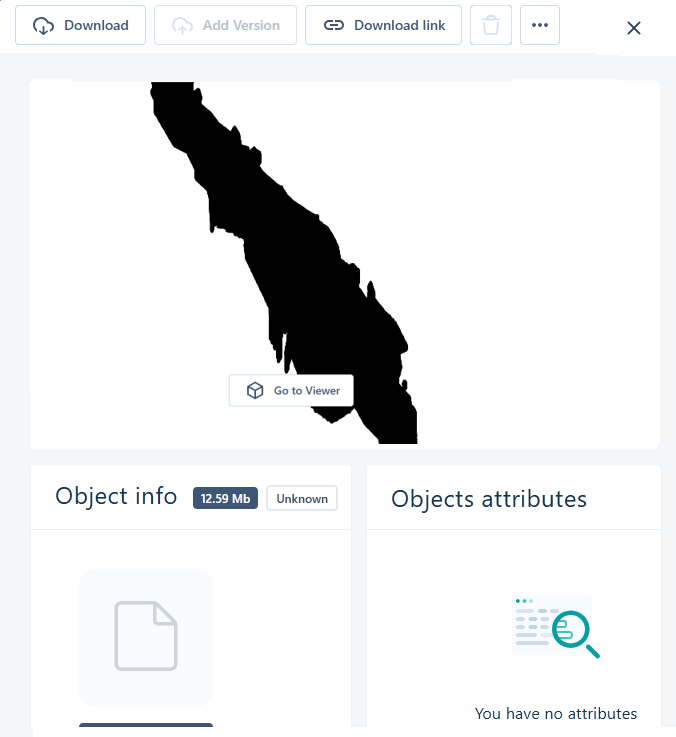
Select this option to open a Nexus Object Page which displays various details about the object you have uploaded to Nexus. For layers, a spatial preview of the layer may also be supported.
Local Name Changes
Note Local name changes to the synchronised Nexus object are not reflected automatically on the Nexus server (even when updates are pushed).
Similarly, name changes to the synchronised Nexus object on the Nexus server are not automatically reflected in the local copy (even when updates are pulled).