

Nexus Integration
Micromine Nexus is a web-based, enterprise-level file management solution which seamlessly integrates with Micromine applications and Open API applications to provide secure data storage, file versioning and access control, plus flexible tools to facilitate the governance of corporate-wide business processes.
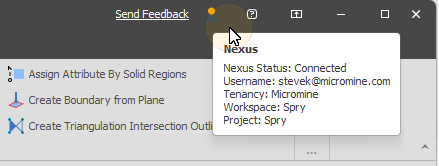
To see your current Nexus connection status (if any), hover your mouse cursor over the Nexus User Profile icon on the right-hand side of the application title bar:
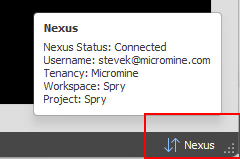
Your connection status is also shown at the lower-right of the application window:
To view your user profile click on the Profile icon.
Tip: When signed out, the Nexus Profile icon is a question mark. When signed in, if you have not chosen an avatar, the profile icon is your Initial. For more information about choosing an avatar, see: User Profile
You can sign-in to Nexus and link a Micromine Spry project to a Nexus workspace and project via the Nexus panel.
To open the Nexus panel, in the Project Explorer, right click on the root node and select Nexus.
Workspace Status (Sign In)
Spry integration with Micromine Nexus requires a connection to the Nexus server.
Request an account from your Nexus administrator, who will provide you with the credentials you need to sign-in.
-
In the Project Explorer, right click on the root node and select Nexus.
-
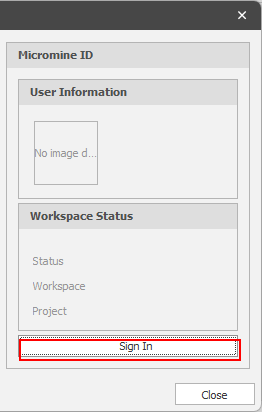
At the lower left of the Nexus panel, click Sign in:
-
You will prompted to login using your Micromine ID and password.
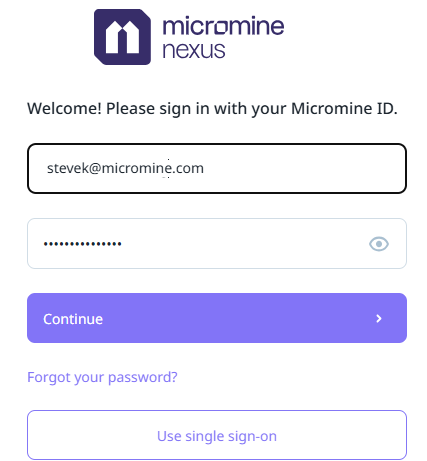
Once authentication is complete, a successful connection is indicated on the status bar at the lower left of the application window:

Sign Out
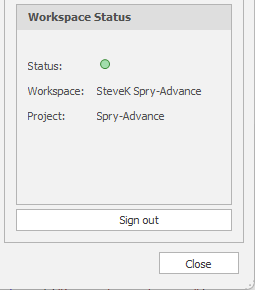
Click the Sign out button at the lower-right of the Nexus pane.
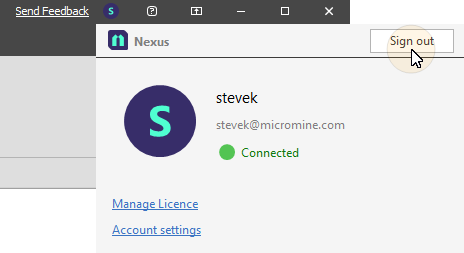
Alternatively, click the Nexus icon on the right-hand side of the application title bar and click Sign out.
Workspace (Link Project)
To attach your active Micromine Spry project to a Nexus workspace and project:
-
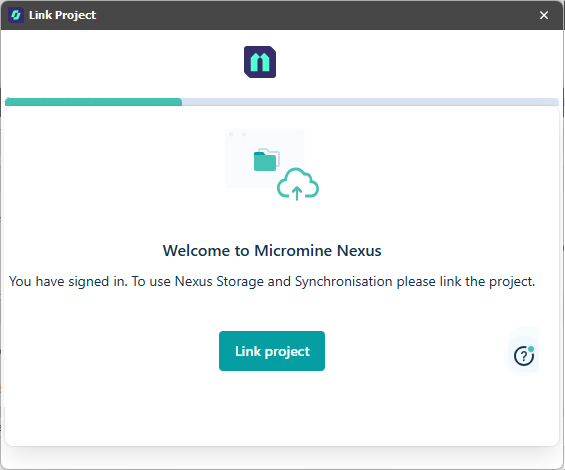
In the Nexus panel, in the Workspace group, click Link Project:

-
You will be prompted to select (or create and select) a Nexus Workspace.
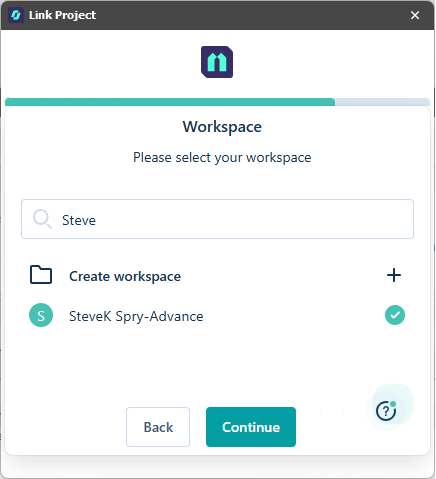
Click to Continue.
-
You will be prompted to select (or create and select) a Nexus Project:
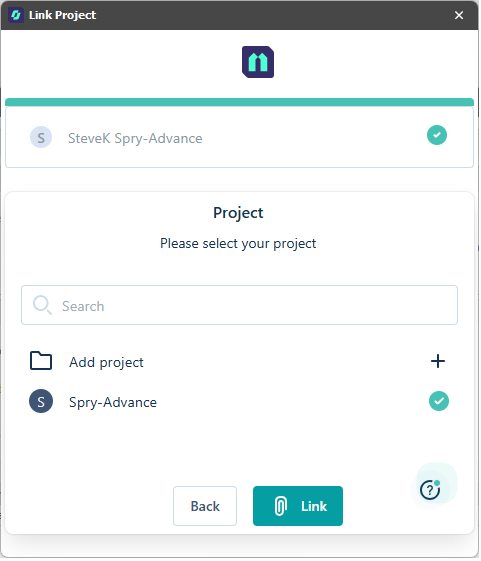
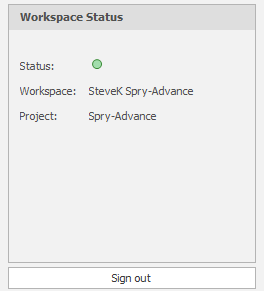
Click to Link the Nexus project to your active Micromine Spry project. The Nexus project you are linked to is shown in the Workspace Status pane:
Unlink Project
To unattach your Spry project from its linked Nexus project,
-
First of all, you may need to Sign In.
-
In the Nexus panel, in the Workspace group, click Unlink Project:

Upload & Download Objects
Once a link has been established between your active active Micromine Spry project and a Nexus project, you can upload and subsequently download your objects (scripts, layers, haulage network layers, block models, triangulations and grids).
For more information, see:
Synchronise Changes
Once a project has been linked to Nexus and objects have been uploaded to or downloaded from the Nexus server, you can use the following options to synchronise any changes made in the local project or on the Nexus server.
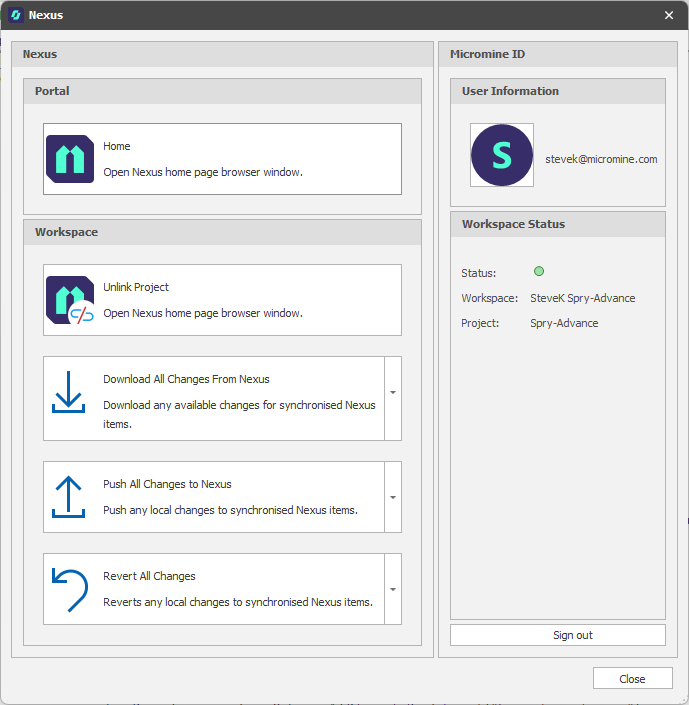
Nexus panel
Download All Changes from Nexus
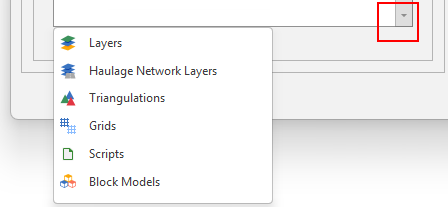
Click the Download All Changes from Nexus button to download all changes on the Nexus server. Alternatively, use the Download All Changes drop-down menu to download changes based on a chosen object type.
Push All Changes to Nexus
Click the Push All Changes to Nexus button to upload all local changes to the Nexus server. Alternatively, use the Push All Changes drop-down menu to push changes based on a chosen object type.
Revert All Changes
Click the Revert All Changes button to revert all local changes. Alternatively, use the Revert All Changes drop-down menu to revert changes based on a chosen object type.
Checking Out Objects
Check Out/Check In options allow you to Check Out an object to reserve that object for editing, so that no changes can be made to the object by other users who have access to it. The Check In option will return full access to the object as normal.
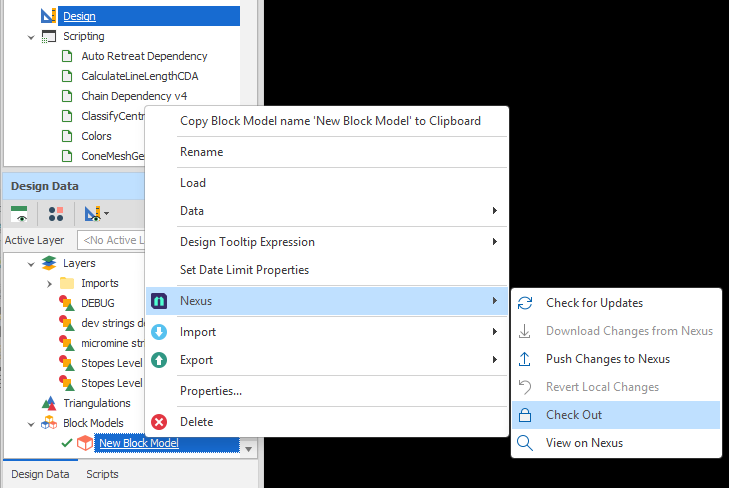
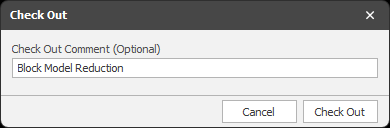
When you check out an object, you will be prompted to enter a comment:
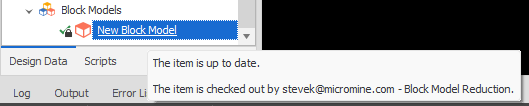
Once an object is checked out, its checked-out status is indicated by a padlock icon. When you hover the mouse over a checked-out object, who the object was checked out by is shown:
Note that an object that is checked out by another user cannot be checked in (that option is disabled on the right-click menu):
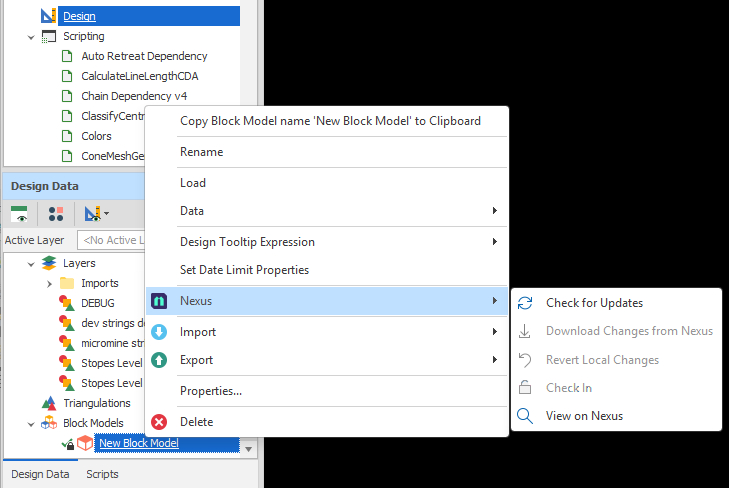
Similarly, local changes made to an object that is checked out by another user cannot be pushed to the Nexus server.