

Design Data
The Drill and Blast screen provides a summary of what drilled and blasted stocks are available at any given time.
Data Grid
Once data is imported, the data grid in the Drill and Blast screen provides the interface between the firing process and the movement of materials. The grid displays the imported design data. Locations are shown in summary.
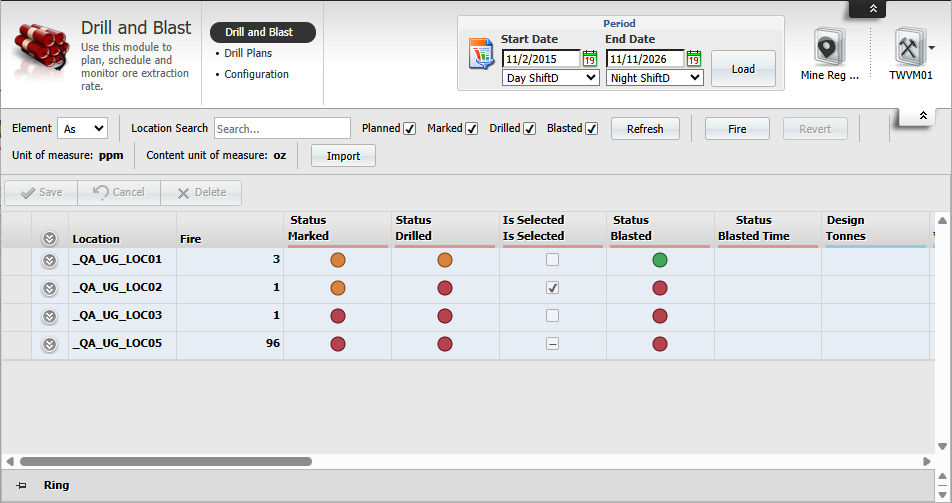
Firing Status
The status traffic lights indicate whether or not the activity has been completed. Depending on preconditions these will prevent creation of location stocks. If the fire is made up of one or more rings, the status displayed is a summary of the combination of those rings.
| Icon | Status |
|---|---|

|
Ready to fire |

|
Fired |

|
Status Pending1 |
1If the status of some rings are set while others are not, then the summary display will be amber. The exception to this is the Fired status, since a location and its sublocations are either fired as a whole or are not fired at all.
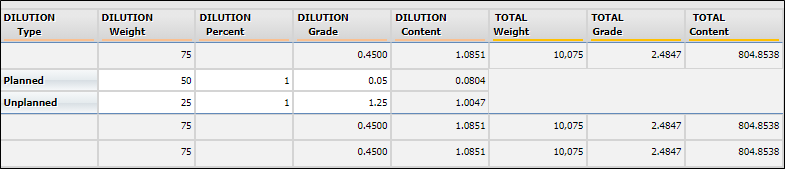
Design and Dilution weights and grades.
Depending on the Precondition business rules that have been configured, Pitram will allow the manual release of the design, including Dilution weights and grades, making it available for removal (in Pitram).
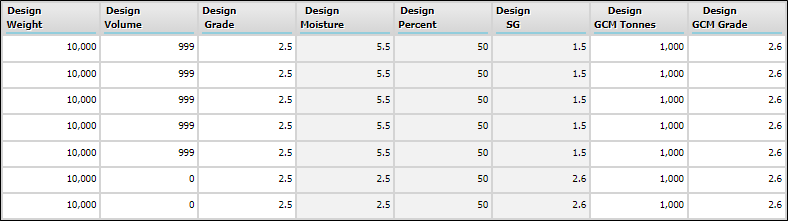
Click on the Down arrowsat the left of a row will expose the dilution components of the design. Before a “blast”, values which are not in red can be edited:
Design Toolbar
The header and the toolbar above the data grid allow you to select a period and set display options.
| Option | Description |
|---|---|
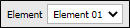
| Element | Select the element to be displayed. If only a single element has been imported the element is automatically displayed. |
|
|
| Search | Search for a particular location. Search on any part of the location code. |
| Firing Status | These are filters for the status of the fire for the location. Selecting these filters will return only those locations where the action has been completed. The number of filters displayed is dependent on the configuration. |

|
|
|
|
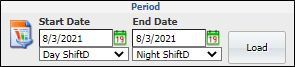
| Period | Select a Start Date and an End Date that defines the period you want to view transactions for. A period can be defined as the Shifts or the Calendar Days that fall within the Start Date and End Date. |
|
|
| When you have changed the period (or changed the displayed element or firing status) click the Load button to refresh the data on the screen. | |

|
|
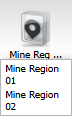
| Mine Region | Where more than one Site (Mine Region) has been configured, you can select the required Mine Region from the menu: |
|
|
| Fire | When the preconditions have been met one or more rings can be “fired” i.e. the design data becomes available as movable material. |
| The name on this button will be whatever has been configured i.e. Shot/Fire/Blast. | |
|
|

|
| In addition to meeting the pre-conditions, the row must have the Is Selected check box selected (at the far right of the row). | |
| Revert | If for any reason there is a need to reverse the “fire”, click on the Revert button. |
|
|

|
| Units of measure | The units of measure applicable to the grade and the product of the selected element are displayed. |

|
|
| Import | Click Import to launch the Import wizard. |

|
Show Details
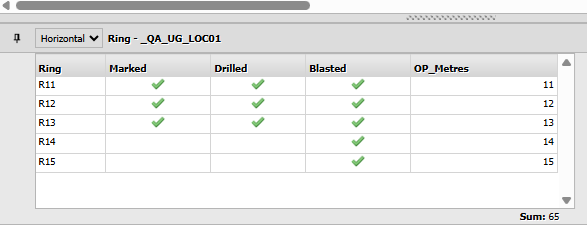
The Drill and Blast details pane shows the rings or blocks at each location and the status (Drilled or Blasted) of the holes in each ring or block.
You can Pin or collapse the pane using the pin icon at the left, as well as select to display the pane Horizontal or Vertical.
Viewing summary data
To view summary data:
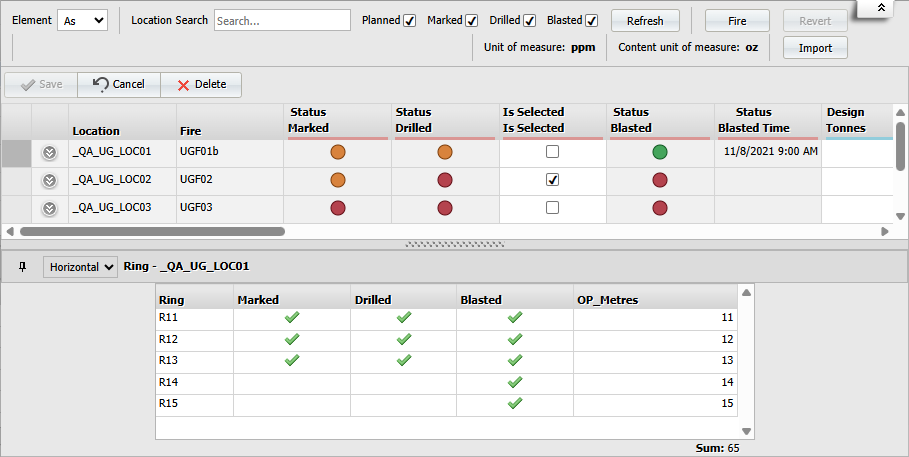
- Select a location row in the grid to view the summary data in the details pane:
Adding Comments
The Drill and Blast data grid features a Comments column at the end of each location fire row that can be used to enter free text comments. Comments are editable and saved with the rest of the row. The text you enter as a comment is stored against the location fire and can be reported and exposed to other systems.
To add a comment to a row:
-
Click the green plus icon in the Comment column on the row for which you want to enter comments.
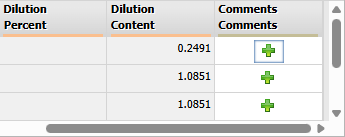
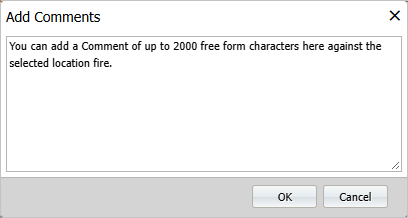
The Add Comments prompt opens:
-
Enter the required comment (up to 2000 characters) and,
-
Click OK to save or Cancel to exit.
Any saved comment will appear in the Comments column for the row:
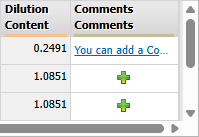
If you click the Comment, the Add Comments prompt will open with the comment displayed for review. You can edit the comment if required and click OK to save the changes.
Moving design weight and grade into stock
To move design weight and grade into stocks:
- Select the Is Selected check box at the right of the row (the name of this column is configured and may be different at your site).
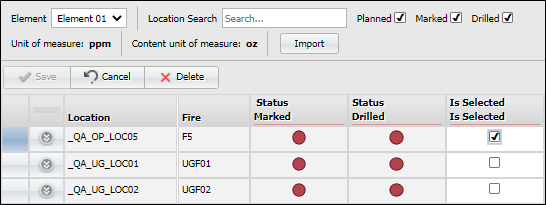
- Click the Fire button:
Whether the Fire button is enabled or not is dependent upon the preconditions that have been configured.
- You will be prompted to set the Shift Roster and the Start date and time of the fire. This allows the fire to be back-dated:
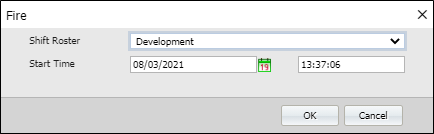
There is some validation that occurs when trying to fire on a given date and at a given time:
- The date set for the fire must be AFTER the date of any configured preconditions.
- The time set for the fire must be at least 5 minutes before the end of the shift.
- Go to the Materials Management | Stock Balance Sheet to see the result of the transfer.
A previously fired location can be reversed by selecting the same location and clicking the Revert button. This will wind back the movement of material into the stock.