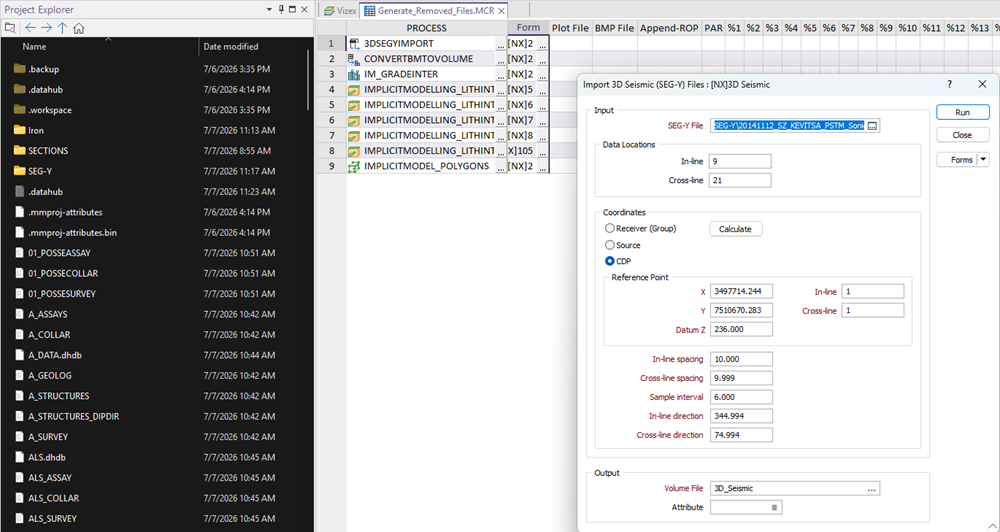
Download the Data to Your Local Project
You can sync data at either the folder level or the individual file level (downloading the whole folder or batch of individual files to local project).
With folder-level synchronisation, any files added to or removed from the folder in Nexus will be removed or added in your local project automatically during synchronisation.
With individual file synchronisation, only the selected files are tracked and updated. Any new files must be uploaded or downloaded manually first before they can be included in future synchronisation.
Following the logic from the Nexus Workspaces Onboarding guide, the Sections folder should be synchronised using folder-level sync. This ensures that whenever a new Section Control file is added to Nexus, it can be automatically downloaded to the local project during the folder sync process.
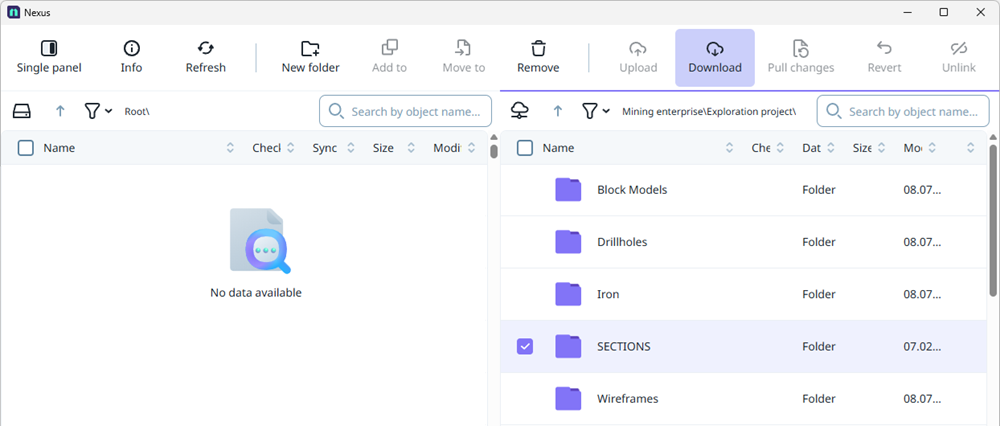
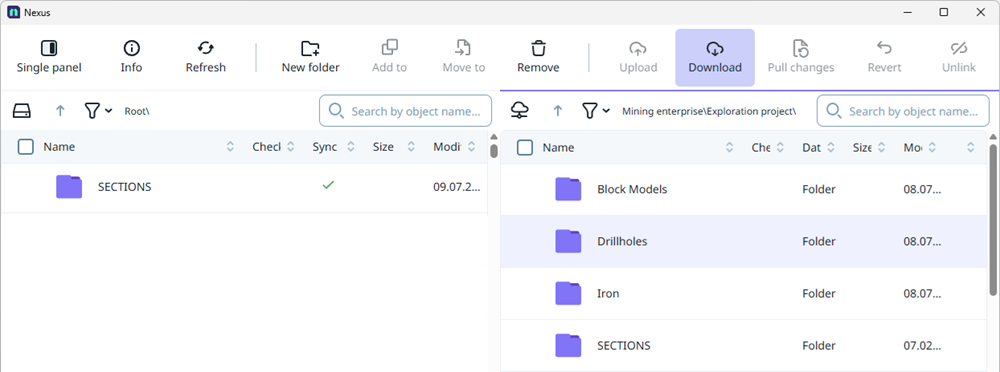
To do this, select the Sections folder on the right-hand Nexus side of the File Browser, then click Download to download it to the project root of the local project.
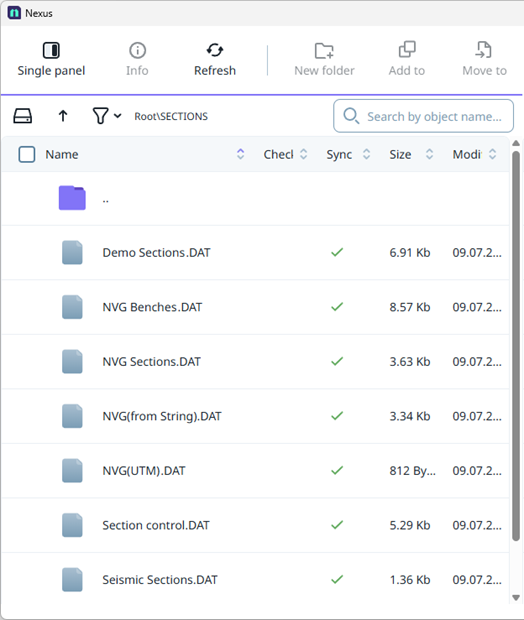
All files inside the Sections folder will be synced, and their sync status will show as Up to date.
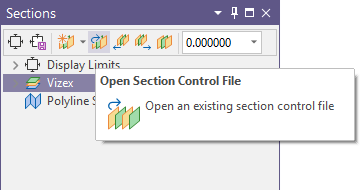
You can now open these sections from the Sections panel in your local project.
Use Open Section Control File in the Sections panel toolbar. All downloaded sections will be available in Windows Explorer.
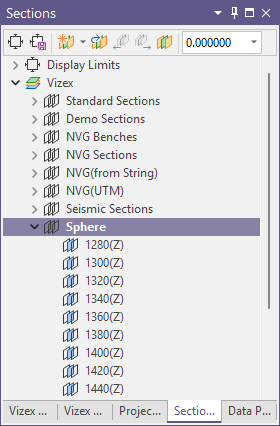
You can see the list of synced sections by expanding one of the section files in the Section panel:
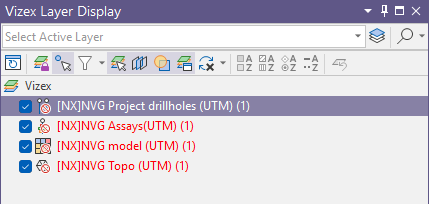
If you try to load the saved view at this stage, the form set names will appear in red in the Vizex Layer Display panel. This is because the form sets reference objects that do not yet exist in your local project.
Go through the forms first to check the locations of the input files. Then decide whether the files should be downloaded to subfolders or to the project root, depending on whether the input paths are relative or absolute.
After that, open the File Manager applet and download the required files.
In this case, most forms reference the project root, so we can start by downloading all of the drillhole files to the root of the local project.
The entire folder could be downloaded and synchronised at the folder level in much the same way as the Sections folder was, but that would mean the form sets would need to include the Drillholes subfolder in their file paths.
Note: You should decide in conjunction with your Project Administrator which synchronisation level to use: Folder-level sync or object-level sync.
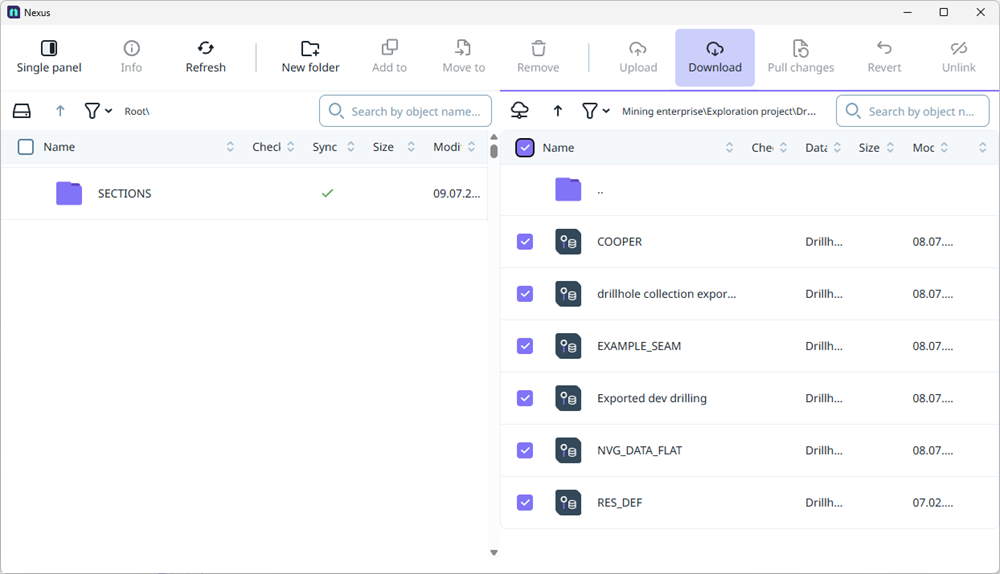
In this case, we will open the Drillholes folder on the Nexus side, select all the drillhole files, and download them to the local project.
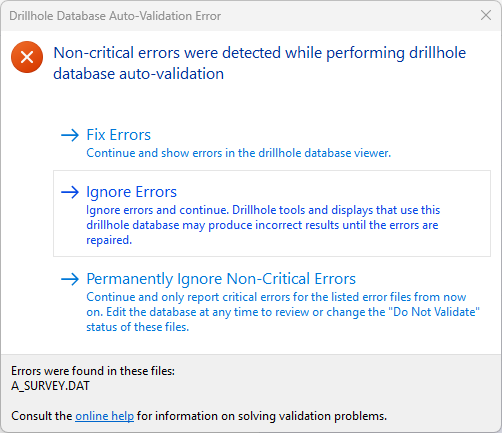
Sometimes you may see auto-validation error messages during the download process. You can ignore these errors unless you specifically want to fix them.
These messages appear because, during download, Micromine Origin & Beyond imports the data from the Nexus Drillhole Object and converts it into Micromine Origin & Beyond database format, including the .dhdb file and related .DAT tables.
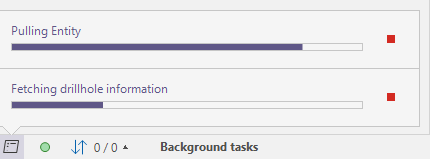
During the process, the Nexus Tasks progress bar will be displayed in the lower-left corner of the interface. This shows the progress of the conversion from the Nexus Drillhole Object to the local Micromine Origin & Beyond drillhole database format.
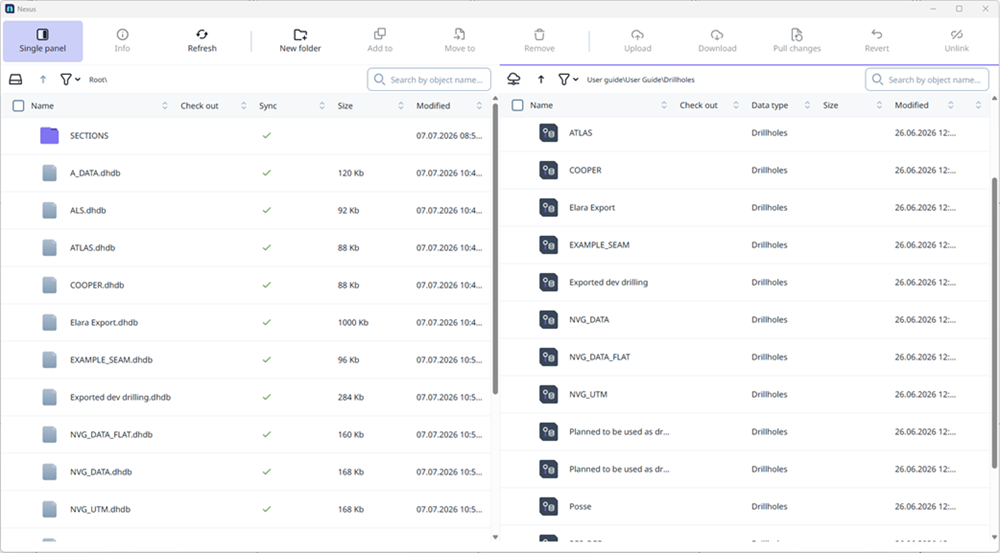
After downloading all drillhole objects to the local project, you will see only the .dhdb files in the File Manager applet on the local side, which is the left-hand side.
The related .DAT files are hidden in this view, but they still exist in your local project folder. You can confirm this in Windows Explorer.
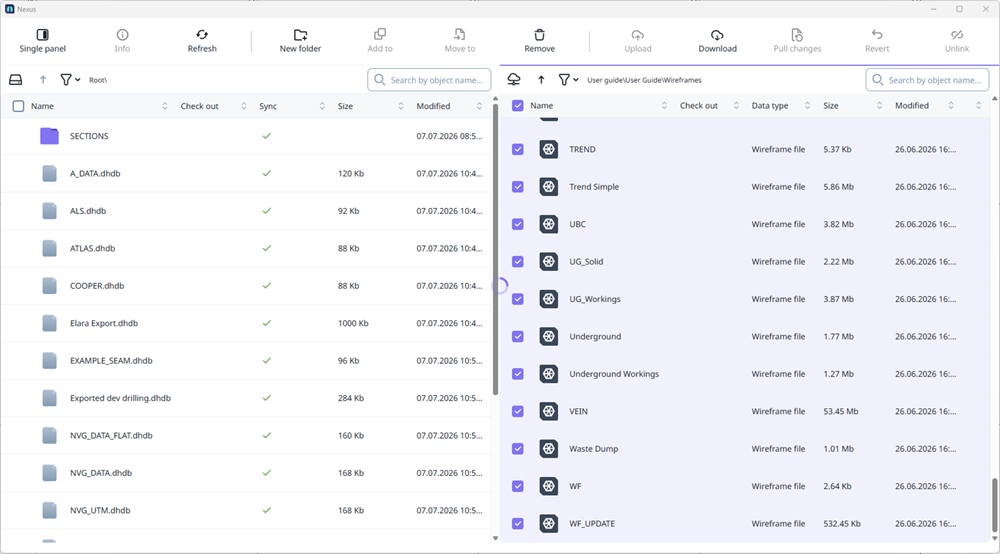
You can download wireframes in the same way. As with drillholes, wireframes should be downloaded from the Micromine Origin & Beyond application so the Nexus Wireframe Object is converted into .tridb files in the local project folder.
You can do the same for wireframes. Downloading wireframes may take some time because they are also converted to .tridb format during the process.
In some cases, your local project needs to use the same subfolder structure as the Nexus project. You can create the folder locally from the Project Explorer tab using the same name as the folder in Nexus.
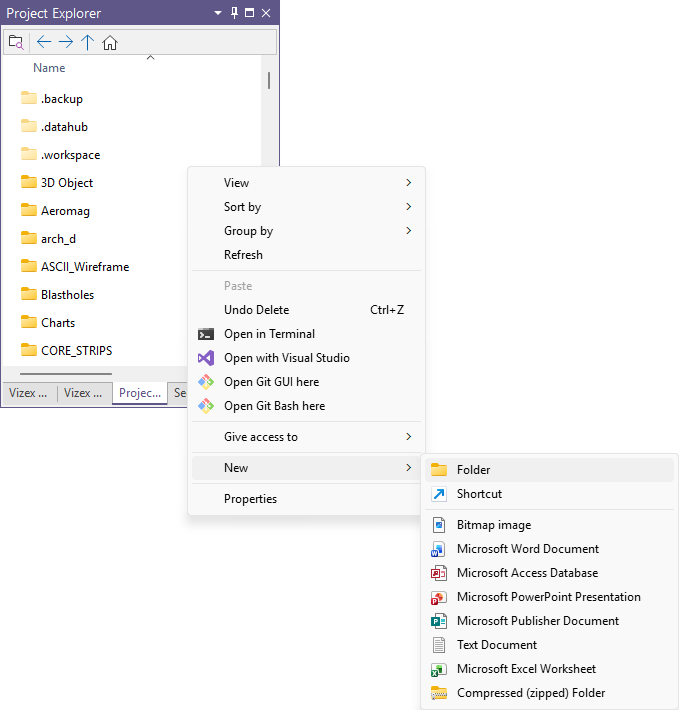
In this example, create an Iron folder in the Project Explorer (select New | Folder on the right-click context menu).
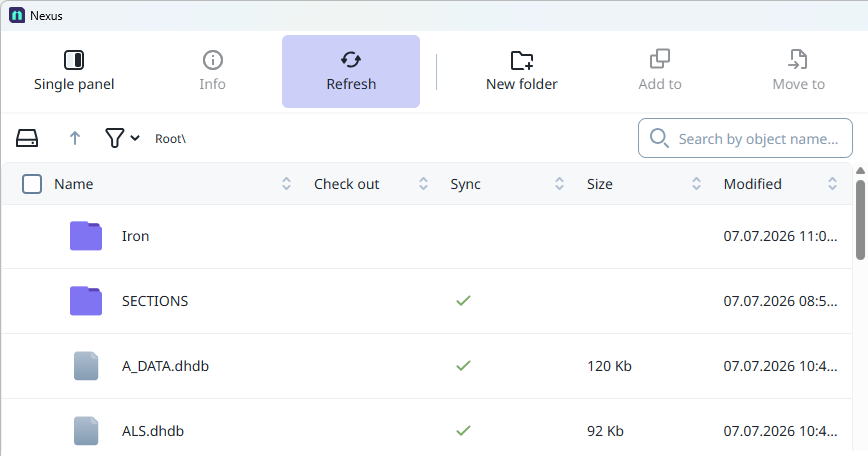
Refresh the local side of the File Manager applet, on the left. The new folder will be available.
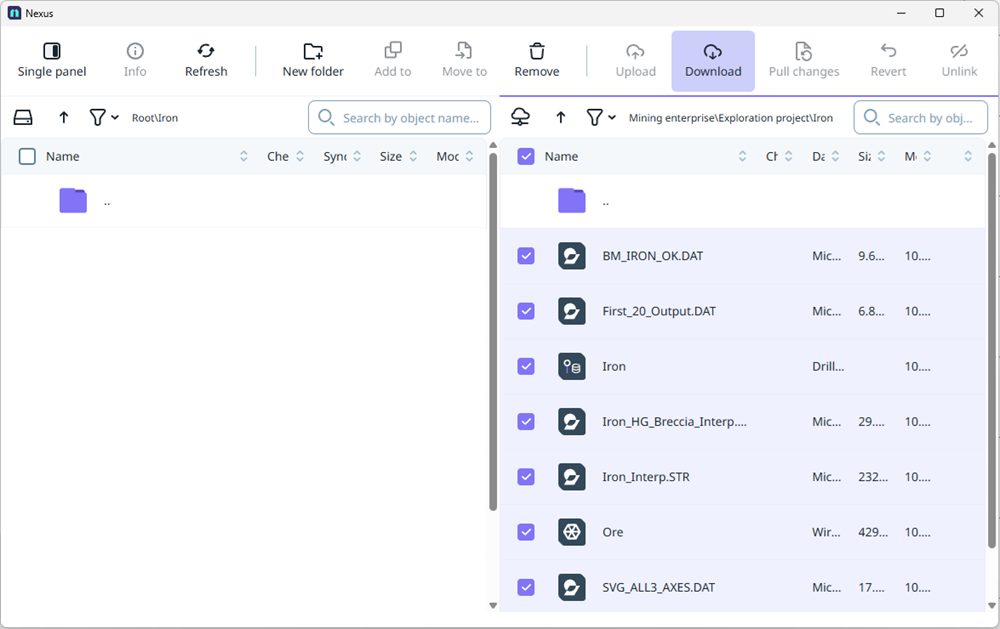
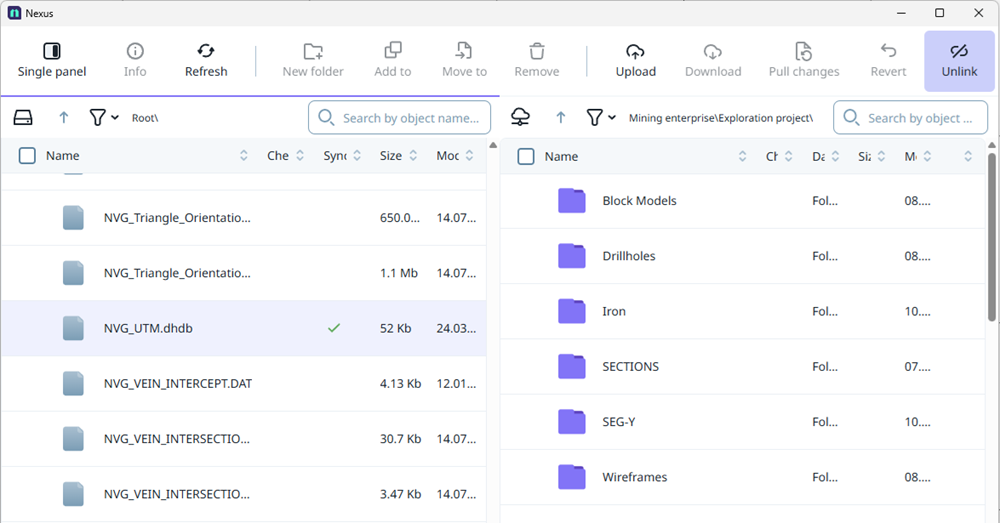
Open the Iron folder on both the local side and the Nexus side. On the Nexus side, click Select All, then click Download to download all files into the local Iron folder.
Return to the root of the Nexus project on the Nexus side and check for any objects that are not yet linked, using Filter > Statuses > Unlinked.
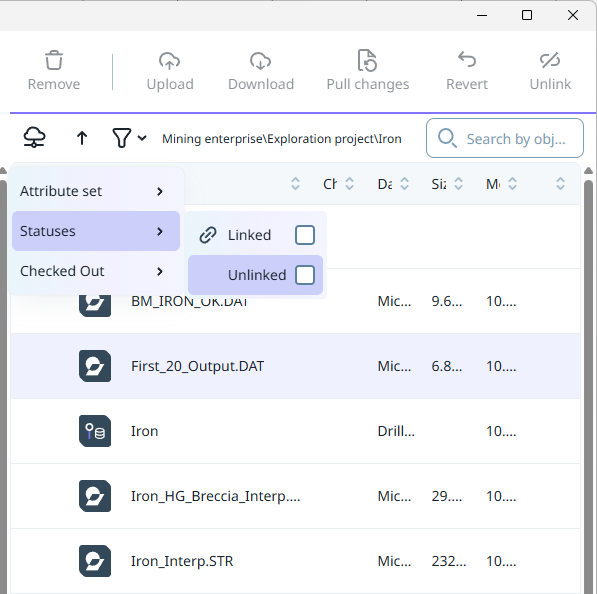
In this case, link the folder containing third-party files at the folder level. This will enable receiving of any new objects added to the folder through folder-level sync.
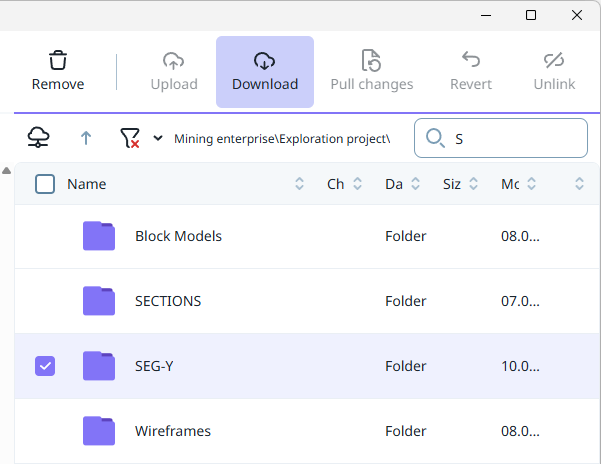
All other files can be downloaded in the same way, either at the folder level or individual object level, depending on the requirements of your organisation.
After you have downloaded all required files from Nexus to your local project, you can try using the saved view.
You may see this type of error message for some drillhole databases.
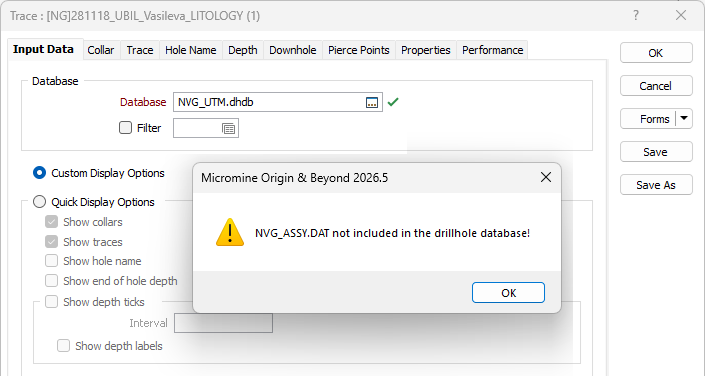
This happens because the form set references NVG_ASSY.DAT, but during the Drillhole Object conversion to a local drillhole database, Micromine Origin & Beyond had to create NVG_ASSY1.DAT because NVG_ASSY.DAT already existed in that location.
If this happens during the first download, it usually means the same interval file has been added to two different Drillhole Objects, so the same file was downloaded from Nexus twice.
In this case, it is recommended that you store these databases in separate subfolders. However, the saved form sets must also reference the same folder structure. This should be reorganised by the Master project administrator.
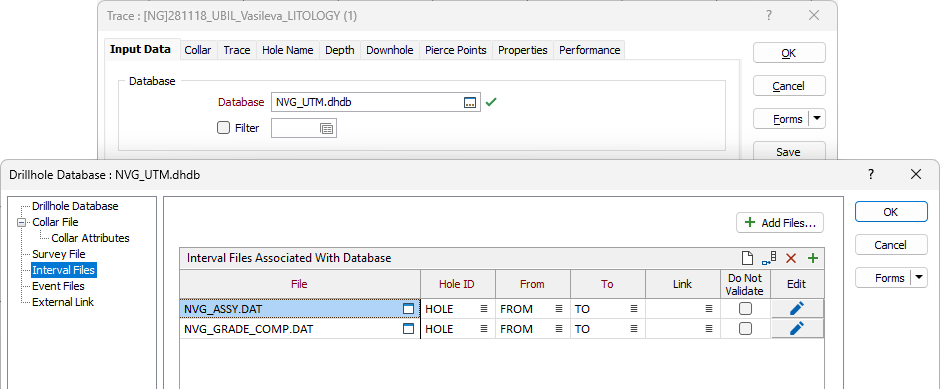
A quick fix is to reselect the interval file in the form set. However, do not save this change, as it will overwrite the form set in Nexus and the form set will no longer work with the original file.
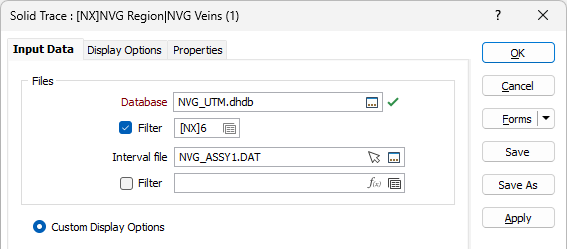
Please report this case to the Master Project Administrator. They should move the Drillhole Object that contains the duplicate interval file into a separate subfolder, then re-save the form set for everyone.
You will need to unlink this object and download it again to the new location. You can do this in File Manager by selecting the .dhdb file with duplicates and using Unlink. Then go to Project Explorer and delete these objects from the local project.
The last item you will need is the macro, along with all related form sets and input files uploaded by the Nexus Master Project Administrator.
Go to the Script ribbon and select Open in the Macro group. You should see the macro file already available in your local folder, because you have downloaded all the required files.
You will now have the script on your local machine, along with all related forms and input files, ready to run.