

Browser
A Nexus project is typically a container for files which serve to achieve a single outcome, for example, a finalised block model or a periodic mining plan. You can link to a project when you integrate other Micromine applications with Nexus.
-
Use the options on the ribbon to manage the folders and files in your Nexus project.
|
|
Click to Refresh the page. The data and metadata on the page is refreshed by querying |
|
|
Click to create a New Folder in your |
|
Click to Show unavailable files in your |
|
You can toggle off the display of unavailable files with the Hide Unavailable button. |
|
|
Click to Download the selected file(s) or folder in your |
|
|
Click Copy to to copy the selected file(s) or folder to another location in your |
|
|
Click Move to to move the selected file(s) or folder to another location in your |
|
|
Click Rename to rename a selected file or folder in your |
|
|
Click Attach to task to attach the selected file(s) or folder to a task in your |
|
|
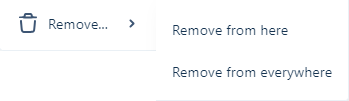
Click Remove from here from the Remove sub menu to delete the selected file(s) or folder from the current location. The files or folder (and its contents) will be deleted from the location, but not from any other locations in the |
|
|
Click Remove from everywhere from the Remove sub menu to delete the selected file(s) or folder from all locations. The files or folder (and its contents) will be deleted from |
|
|
 |
Toggle between Show Search and Hide Search to display the text search field for the |

|
Toggle between Grid View and Table View to change the display of the |

|
Click the Info icon in the grid to toggle display of the Info panel for the selected file/s. |

|
Click the Viewer icon in the grid to view the selected Nexus wireframe object models in the Viewer. Note: This feature is only available for models from Micromine Origin & Beyond 23.5. |







File Information
When a file is selected, the properties of the file are shown in an Info pane:
-
The icon associated with the object type of the file.
-
The name and an optional description of the file.
-
Versioning information including the author (who uploaded the file) and contributors (if any) who updated the file.
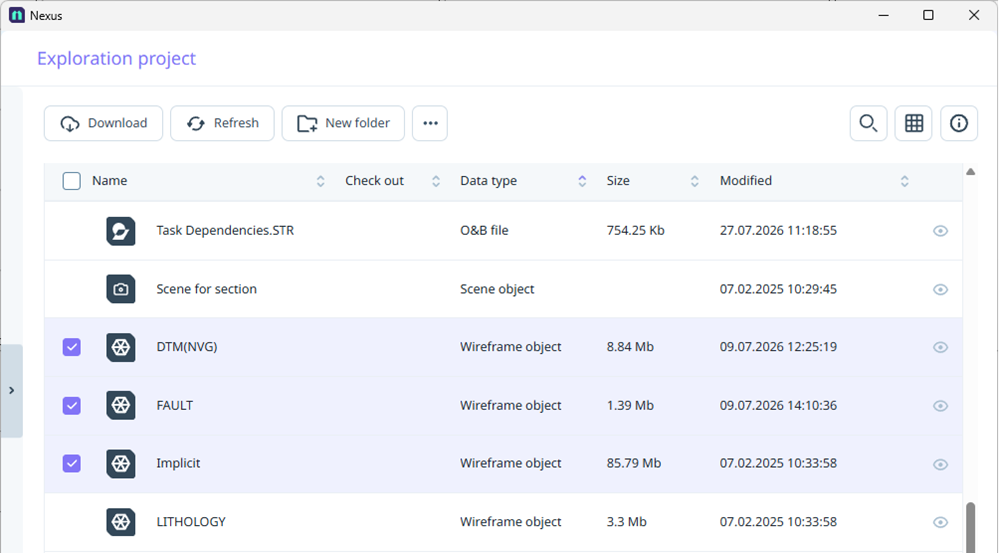
To view version, attribute and permissions information about the file/s selected in your linked Nexus project:
-
Select the file/s for which you want to view information.
-
An Info pane is displayed on the right-hand side of the screen:
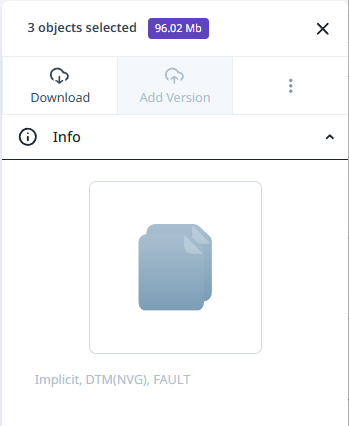
The tabs in the File Info panel allow you to set the metadata and attributes of the file, view the locations in which the file appears, and view or enter comments for the current and/or previous versions of the file: