

Logging on
Press the Log on button to log on or Log Off as the operator of your equipment.
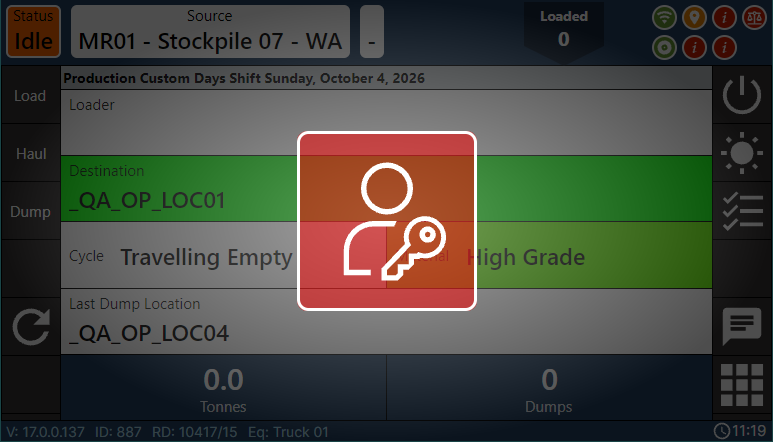
You will be logged off automatically at the end of a shift, unless you log on near the end of the shift. Unless Hot Swap functionality is configured, you may need to log off when another operator is replacing you during the shift or you are going to operate another unit of equipment or vehicle.
If you are logging on, a keypad is displayed for you to enter your user ID.
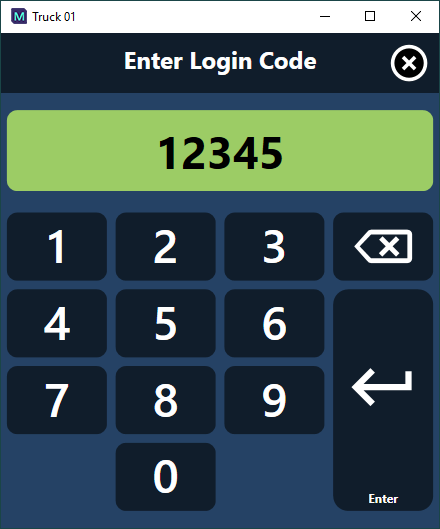
Use the touch screen keypad to enter your login ID number. The ID number you enter will be displayed in the input box provided. If necessary, use the backspace button to remove the last digit entered.

When your user ID is entered correctly, press Enter to log on.
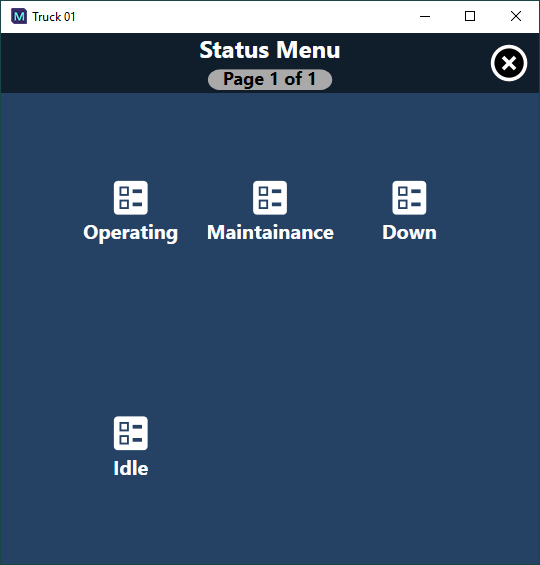
Typically, you will then be prompted to select an operating status:
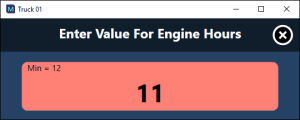
and enter engine hours:
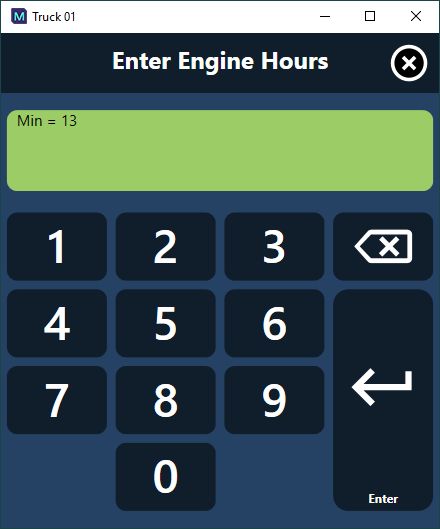
Validation is performed to ensure that the entered value falls within an acceptable range.
Further menu selections will depend on the type of equipment being operated. In the case of a truck operator, for example, they will be prompted to allocate the truck to a loader.
Main Menu
When a user with the relevant permissions has been logged in to Mobile, the Main Menu is available from the main screen.
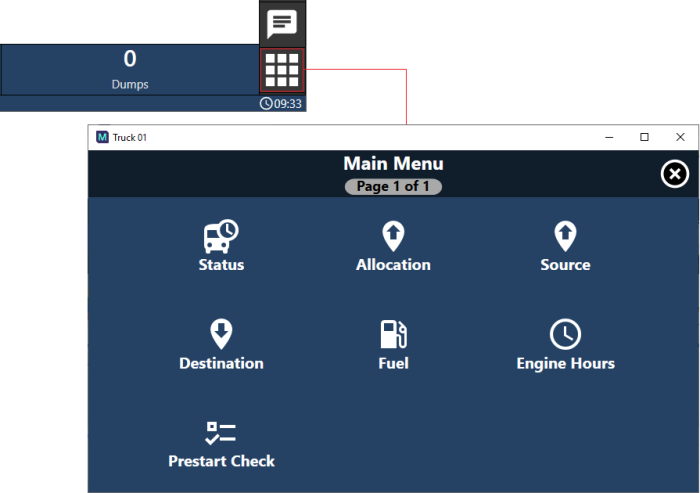
Note: Main Menu configuration may vary between sites, as the options can be customised using the process outlined in Configuring the menu displays.
Status
The Status option on the Main Menu opens the Status Menu screen where the current status for Mobile can be selected.
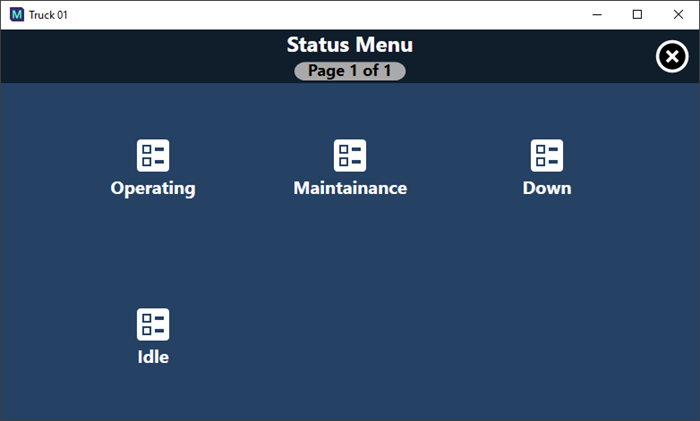
When a user selects a Status from the menu, the Select Primary Status screen is displayed, allowing selection of the primary status:
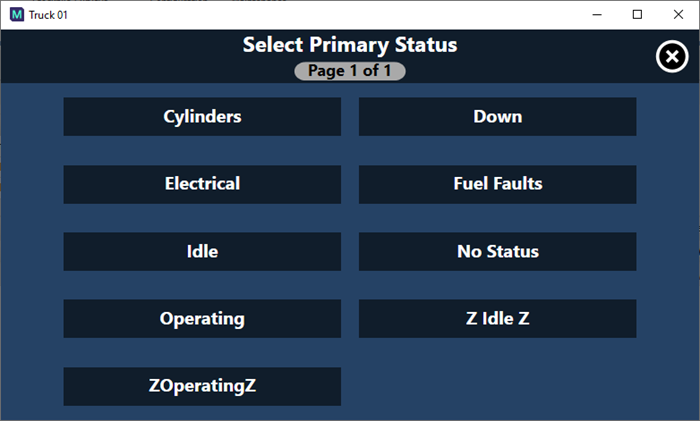
When a selection is made, it is applied to the Mobile equipment and the Main screen is displayed.
Allocation
Using the Allocation option, Equipment or Locations can be allocated to the Mobile equipment. Select Allocation to open the Select Allocation Type screen.
Select Equipment or Locations to allocate equipment or locations, respectively.
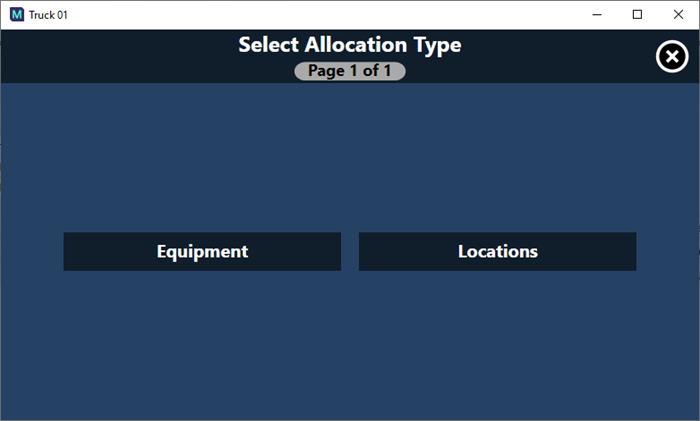
From the Select Equipment or Select Location screen, select the required allocation, for example Equipment:
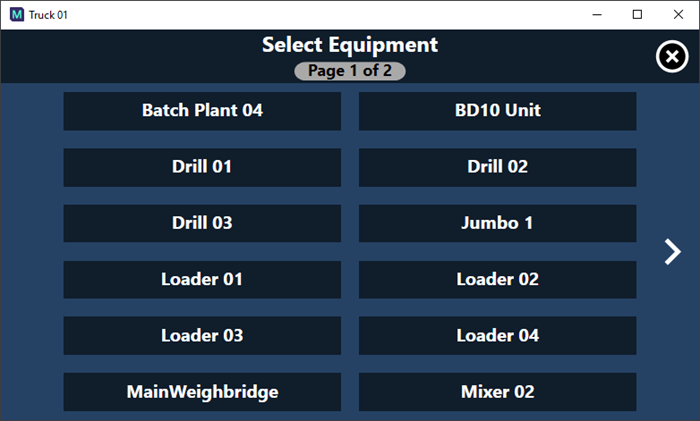
When a selection has been made, the Equipment/Location will be allocated to the Mobile equipment and the Main screen will be displayed.
Source
The Source option is used to select the Source Allocation Type and Source Equipment/Location for Mobile.
Select Equipment or Locations from the Select Source Allocation Type screen and select the Source to allocate from the Select Source screen that is displayed - for example, Select Source Location:
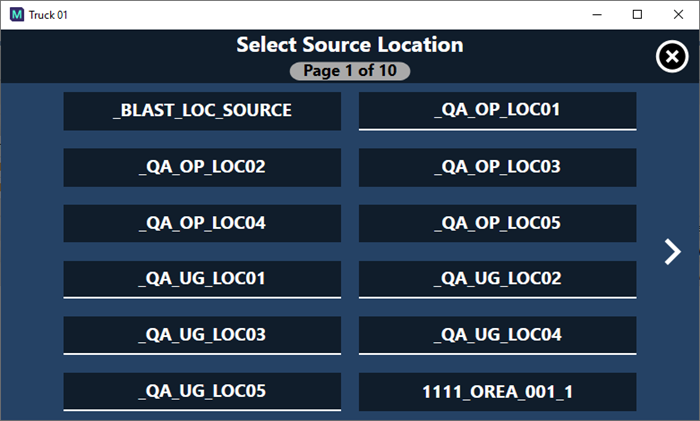
When a Source is selected, it will be allocated to the active Mobile instance and the Main screen will be displayed.
Destination
The Destination option on the Main Menu is used to allocate a destination to the Mobile equipment.
Click Destination and select the destination from the Select Destination screen that is displayed:
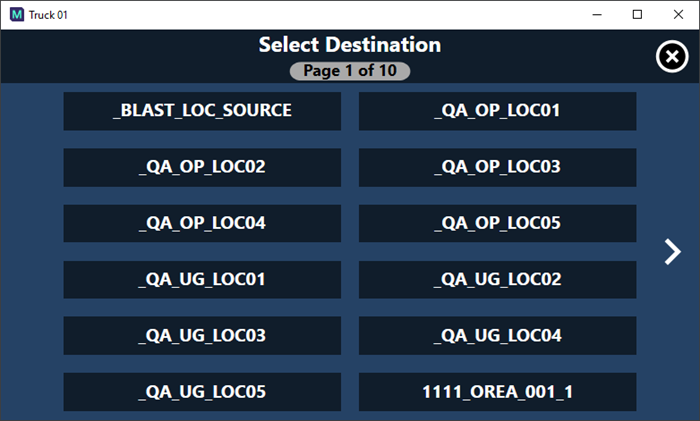
When a destination is selected, it will be assigned to the active Equipment and the Main screen will be displayed.
Fuel
The Fuel value for the active Mobile equipment can be modified using the Fuel option.
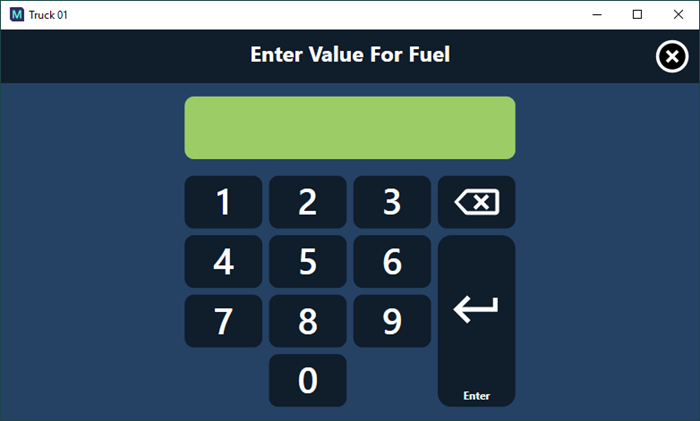
Enter the Fuel value for the equipment using the number buttons and press Enter to save.
Engine Hours
Engine Hours entered at the beginning of a shift can be updated using the Engine Hours option in the Main Menu.
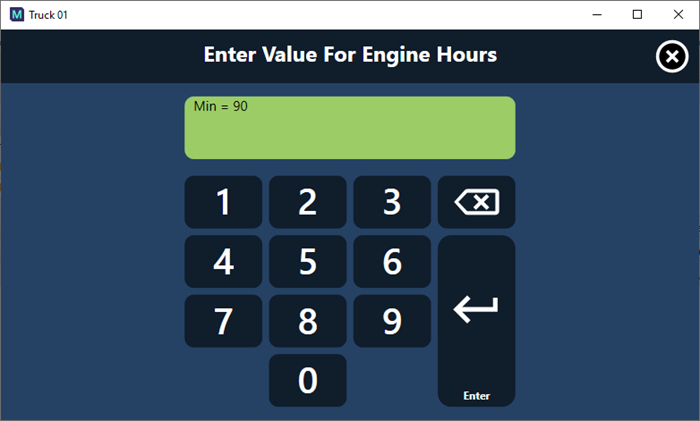
The previous engine hours value will be displayed as a Minimum value in the screen.
Enter a valid Engine Hours value using the number buttons and press Enter to update the equipment and return to the Main screen.
Pre-start Check
The Pre-start Check screen displays the configured Prestart options for the Mobile equipment.
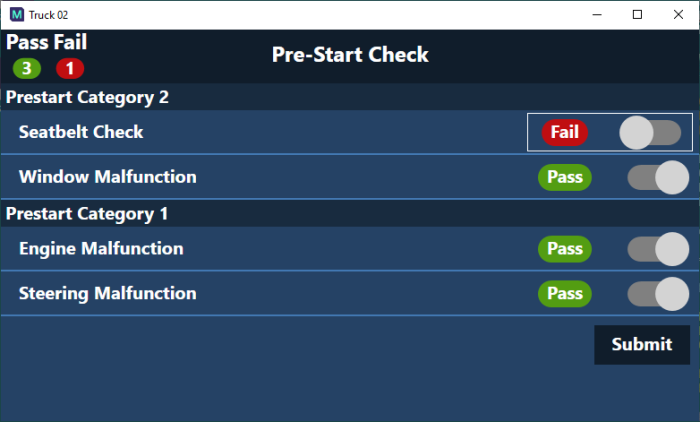
The Pre-options displayed on the Pre-Start screen are configured using Reference Data. See Prestart
You can use the toggles for each prestart entry displayed to mark the check as Pass or Fail and click Submit to update the Pre-start Check.
The available options on the Main Menu are configured using the Menu Reference Group.
Dispatch
When Dispatch has been configured for the Mobile application, the Dispatch button on the Main screen is used to send a pre-configured message to Dispatch:
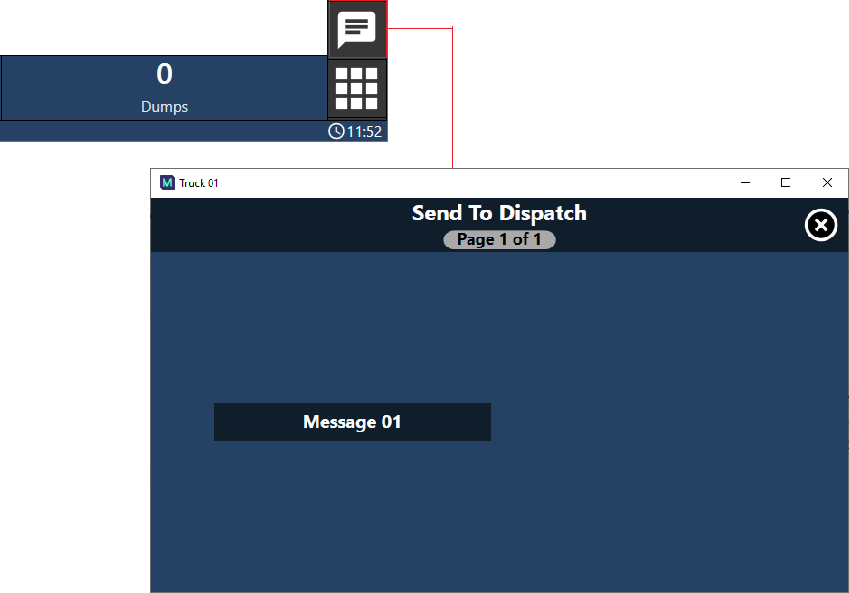
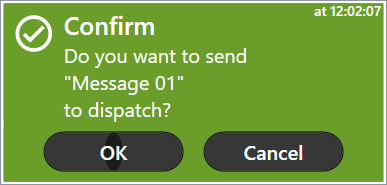
The messages configured are displayed in the screen and you can press the required message and then Confirm to send it to Dispatch:
For information on configuring the Pitram Dispatch system, see Dispatch System.