

Display Properties

Pit Lines
Line colour, type, and width settings on the Pit Lines tab are taken from the file-stored display settings. If the Display setting from file option is enabled on the Pit Polygons tab when creating the layer, these will be used for current display.
Changes made to the Pit Line display settings will be saved to the file and can be undone/redone in the same way as all Setup options. The pit design file can be opened in another project without redefining the displays.
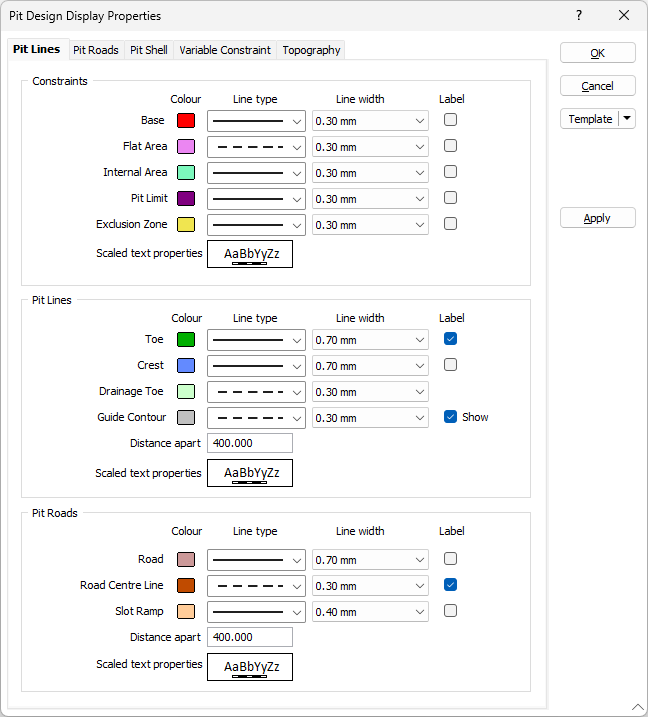
| Type | Description |
|---|---|
| Base | A Base string is the perimeter string for the base of the pit design. |
| Flat Area |
Flat area strings will expand an intersecting toe line outwards (Pit/Up) or expand the intersecting crest line inwards (Pit/Down) |
| Internal Area |
Internal area strings will direct the build area to be inside its boundary. |
| Toe | A Toe string is the bottom string of a pit or stockpile. |
| Crest | A Crest string is generated as the pit or stockpile expanded. A crest (with the exception of the final crest) has a corresponding Toe string at the same Z or elevation. |
| Drainage Toe | A Drainage Toe string denotes the location of water drainage at the base of a bench or a slope. |
| Guide Contour | A Guide Contour string between successive Toes and Crests can be used to denote benches. |
| Road | A Road string is generated when you add a Road. A Start point is defined on a Crest or Toe string. |
| Road Centre-line | You can choose to display a road centre-line (on the Input tab). The centre-line is the line along which the gradient and the length of the road are calculated. |
| Slot Ramp | A Slot Ramp string is generated when you add a Slot Ramp. A Slot Ramp is an alternative to a spiral road and is suited to shallow pits. |
Specify a line colour, line type and line width for each type of string included in the pit outline:
Colour
Double-click on each colour icon, to select a colour that can be used to differentiate between the different types of strings in the pit design display.
Line type
Select a line type. A preview of each line type is shown in the drop-down list. A variety of solid, dotted, and dashed line styles are available for selection.
Line width
Select a (THIN, MEDIUM, THICK, or custom) line width from the drop-down list. An extensive selection of custom widths (in millimetres) are available for selection.
Label
When selected, indicates that the configured label should be displayed on the pit design.
Distance Apart
Enter the distance in grid units between the string and the displayed contour label.
Scaled Text Properties
Double click to set the Text Properties for the displayed labels.
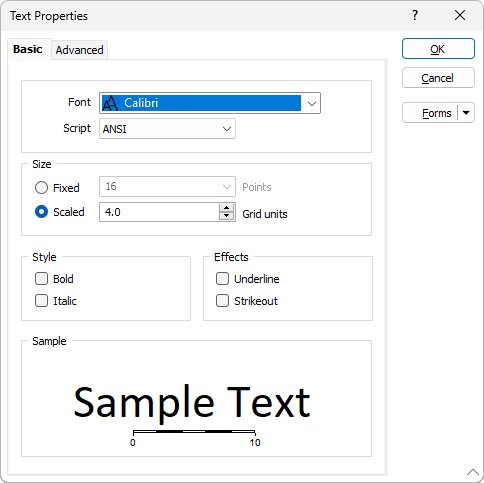
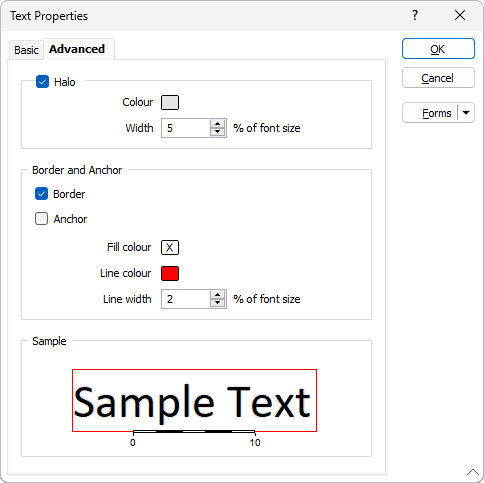
On the Advanced tab of the Text Properties form, you can set the Halo, and Border and Anchor, settings for the text labels.
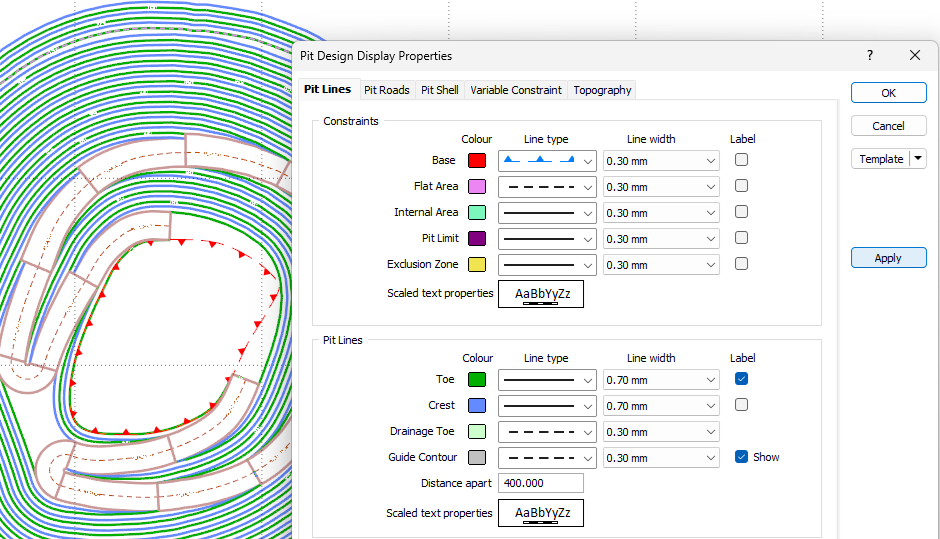
Apply
The Apply button on the right-hand side of the form will quickly visualise your settings without leaving the form. You can preview the settings you have configured and, if required, make changes before finalising.
Template
The Template button is only available for Template Forms. Template Forms inherit saved or previously used values.
Click the Template button to select and open a saved form set template.
Load Template
Click the Load Template button to select and open a saved template to populate the fields of the form.
Save Template
Click the Save Template button to save the details of the current form as a template that can be loaded at a later time.
Manage
Click the Manage button to open the Template Forms manager which can be used to open, save, delete, import and export the template forms for your project.
Undo and Redo
Click Undo (CTRL + Z) to undo recent changes in the form. After an Undo, click Redo (CTRL + Y) to restore the last change that was undone.
Collapse
Collapse (roll-up) the form to preview a chart, or preview the results of an operation in Vizex, or obtain input values from Vizex, the Property Window, the File Editor, or the Plot Editor.