

Datamine Files
To import design data from a Datamine (.dm, .dmx) file: In the Design Data pane, right-click on the Layers node or the name of a layer and select Import | Datamine Files.
You will be prompted to navigate to the location of the Datamine (*.dm, *.dmx) binary files you want to import.
Verify Files
Verify the files you have selected are correct. Warnings or errors are indicated in the Status column,
Grouping Property
Specify the name of the attribute that contains the values used to identify each design element. The default is GROUP.
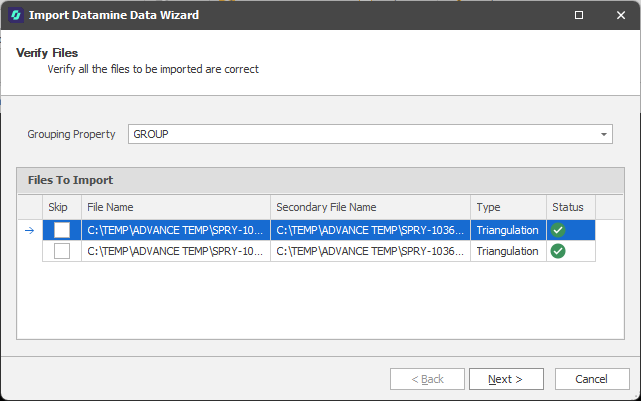
Click Next to continue.
Import Options
Attribute Preview
In the Import Wizard, the attributes for up to the first 10 files you have selected are shown in the Attribute Preview pane for review. It will also notify you if there have been any issues with importing the file. An option to view the attributes for all of the imported triangulations is available.
Note that processing the properties and attributes of a large file may take some time. You will prompted to Continue (or Cancel).

Divide Percentage Values by 100
The application expects percentages to be in 1 based. If your data stores percentages in 100 based, select this check box to convert them to 1 based. For example, 50% in 100 based is 50, whereas 50% in 1 based is 0.5.
Create and Load Unmapped Attributes
Select this check box to create and load attributes for any attributes in the Input file that have not been mapped to existing fields.
Clear Existing Layer Elements
Select this check box to clear the layers selected for import if those layers already exist.
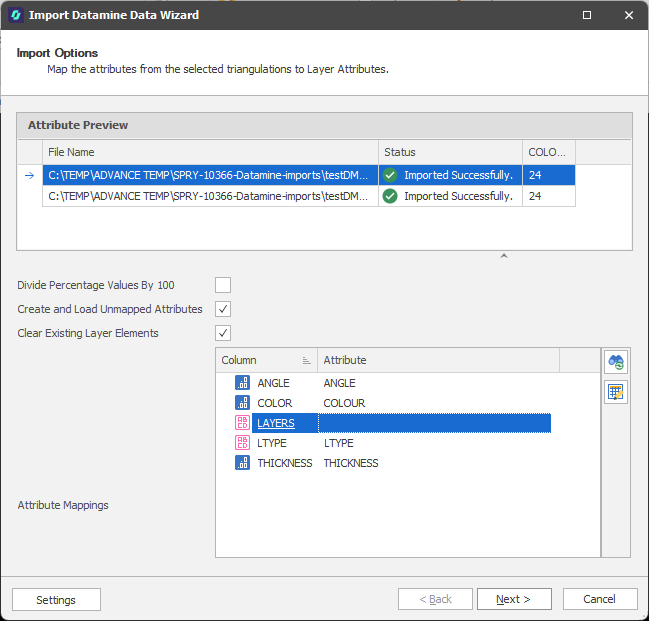
Attribute Mappings
Use the Attribute Mappings table to map the attributes you want to import to layer attributes.
 Click the Map Attributes icon to allow the application to auto map fields to the attributes in the source file, based on Name. You will be prompted to continue or cancel. This will override any fields that are already set.
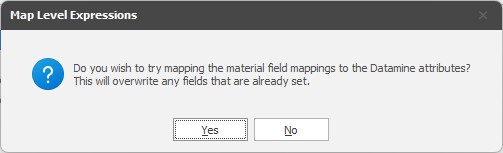
Click the Bulk Editor icon to make bulk modifications to the attribute mappings.
Settings
Select Settings | Export to export mappings and other settings to an XML file. This file can subsequently be used to import the same data into other projects/models.
Click Next to proceed with the Import. A results summary is shown.
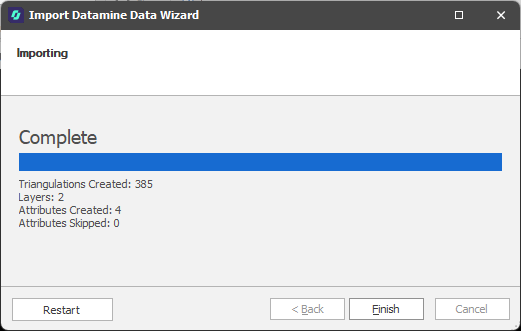
Restart
Click Restart (at the lower left of the Wizard window) to proceed with another import and return to the Import Options page. From there you can adjust your import settings and re-import if needed.