

Drillhole Log

The layout of a log is configured with the Display properties and Forms you add when your log is created.
Drillhole Logs created prior to Micromine Origin & Beyond 26.5 can be opened using the Drillhole Log | Open Legacy option. See Drillhole Log (Legacy).
Drillholes
The Drillholes tab of the Drillhole Log form defines the holes to be displayed in the log, and the columns of information that make up the log.
Database
Double-click (or click on the Select icon) in the Database field to select the database containing the Holes to be logged.
Drillhole List
If “All Holes” is selected, the Drillhole Log function will cycle through all holes in the DHDB (using Next and Previous).
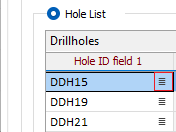
Defining a Hole List restricts the holes to be displayed by the DH Log function. To populate a hole list, click on the icon at the right of the response field to select a hole name:
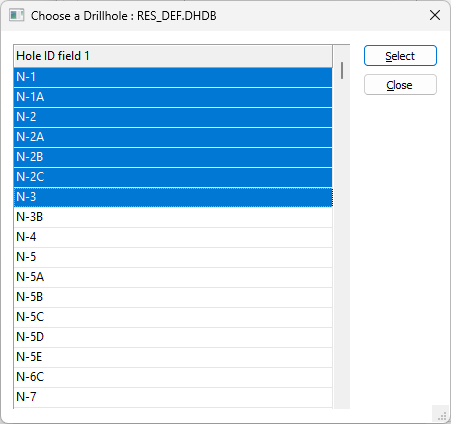
Use the Shift and/or the Ctrl key to select multiple holes.
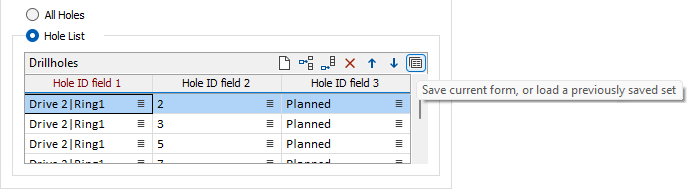
A hole list can be saved (as a form set):
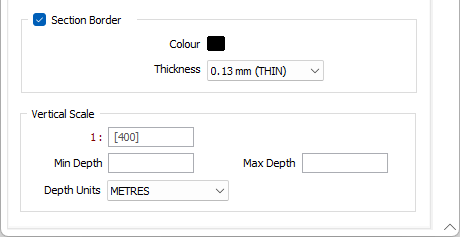
Section Border
Select the check box to display a border.
Double-click on the icon to set the colour for the frame border. This input is disabled when a NULL fill colour is selected.
Select a line thickness value (in millimetres) for the border of the frame. THIN, MEDIUM, THICK, or a Custom thickness can be selected. This input is disabled when a NULL fill colour is selected.
Vertical Scale
This a mandatory input. The Vertical Scale effectively determines the depth range per page. If you do not enter a value, the default value of 400 will be used. Specify the units that will be used to measure depth.
When a scalebar is added as a column, the scale and units you have set here are applied.
You can complete the configuration of the Drillhole Log using the options on the Header and Footer tabs.
When you have set up the Drillhole Log as required, click OK to open the drillhole log you have created.
Building the Drillhole Log
A new Drillhole Log displayed will show any configured header and/or footer on a single blank page.
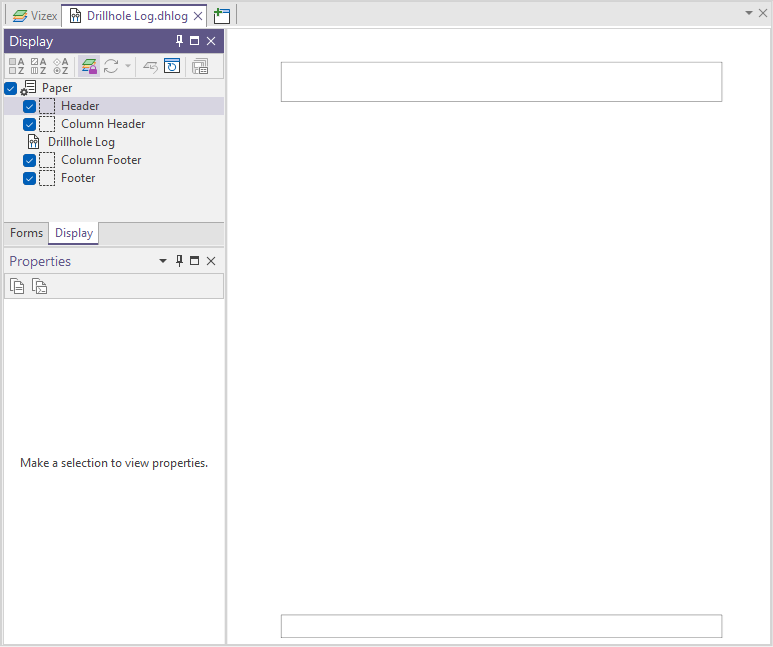
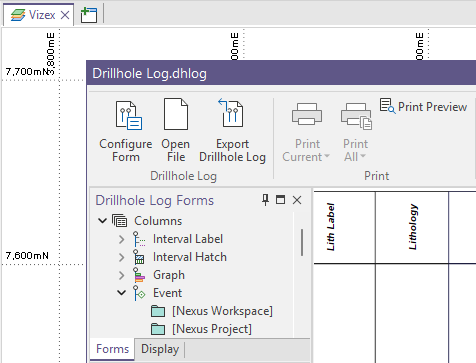
The Drillhole Log can be floated in a separate window if required, using the right-click context menu on the Drillhole Log tab:
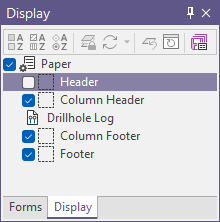
Elements in the log can be hidden or displayed using the corresponding check box for each element in the Display panel:
The Drillhole Log is built by adding the required columns using the available forms in the Forms tab of the Drillhole Log Forms panel:
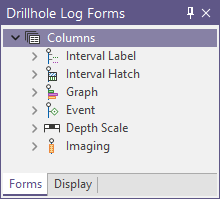
For example, if you drop the Interval Label branch, the available Interval Label forms are displayed. You can drag the required Interval Label to the Drillhole Log to create a column:
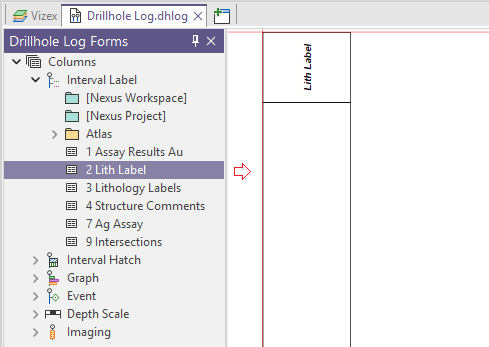
If you double click the column, the form will open for editing:
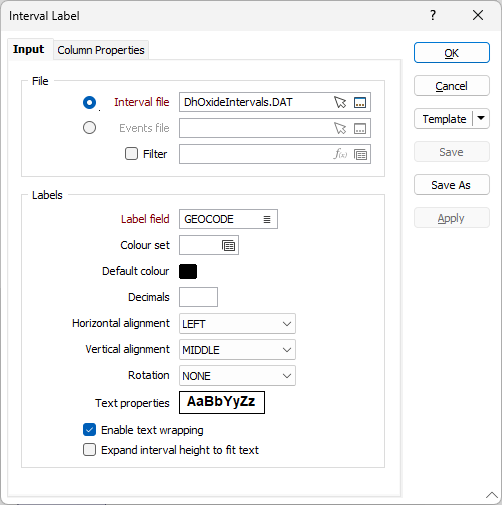
Forms for the following columns can also be dragged and dropped from the Vizex Layer Types panel:
-
Imaging
-
Interval Label
-
Graph
-
Events
-
Hatch
Note : Events layers will be converted into a DH Log Event.
If you double click a column already added to the drillhole log, the column form will be opened to the Column Properties tab.
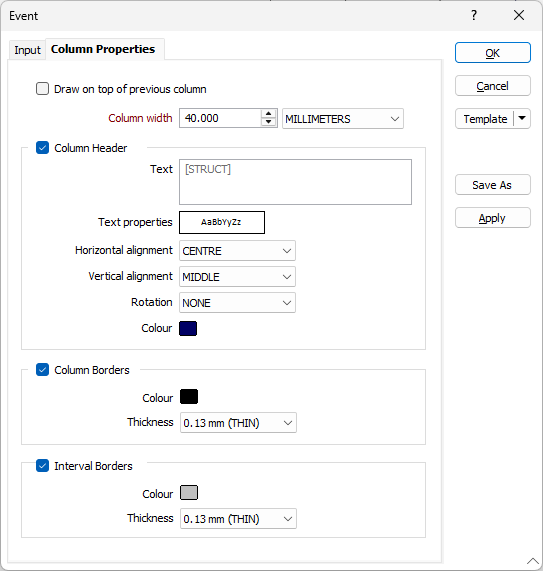
The options on the tab are used to configure the details for column headers and borders, and the interval borders. Column names can be automatically created or you can enter custom text in the field provided - see Column Properties.
You can also add columns to the drillhole log using the Add Column tool on the Drillhole | Drillhole Log tab, in the Edit group.
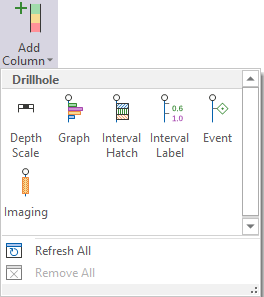
The columns (forms) you add to the Drillhole Log are shown in the Display panel under Drillhole Log.
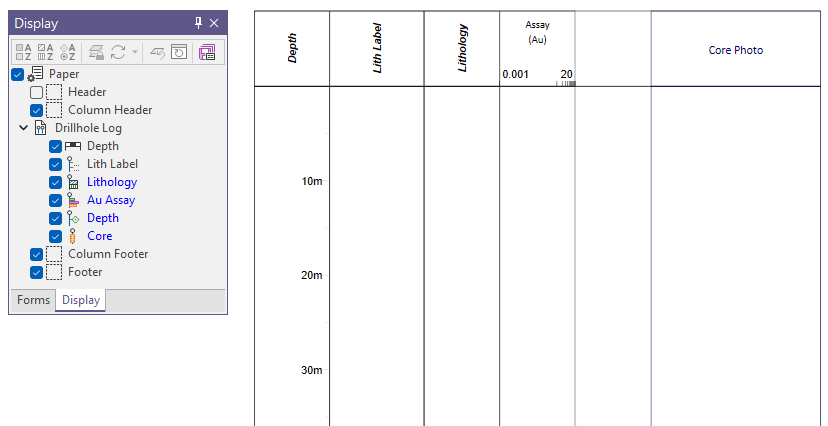
Forms can also be edited for a column by double clicking on an entry in the tree.
Column headers are resizable within the display by dragging the left or right hand side out or in:
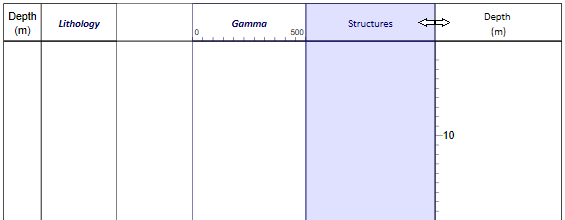
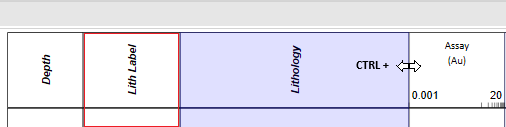
If you hold down CTRL, the width of the neighbouring column will be automatically shortened or lengthened so that its right-most edge does not change position:
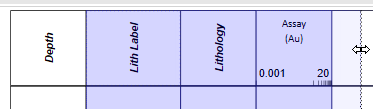
If you select multiple columns and drag the right-most edge, all selected columns will be resized:
You can rearrange the order of the columns displayed in the log by dragging and dropping the forms in the Display panel:
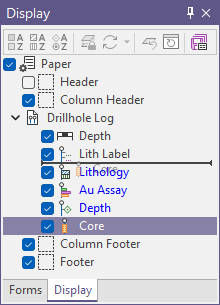
... or by selecting a column header in the display and dragging the column:
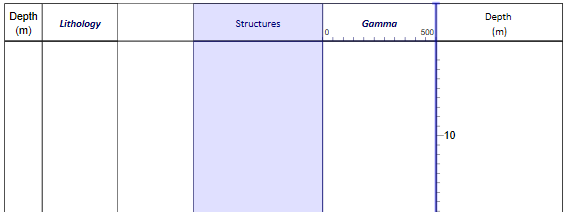
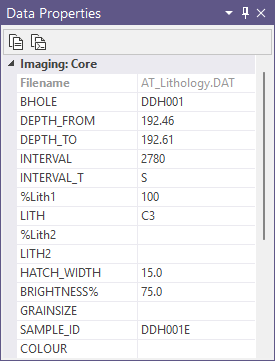
If you make a selection in the Drillhole Log, such as a column or an interval, the details will be displayed in the Data Properties pane:
New Frame
Columns can also be added to the drillhole log using the Create New Frame tool on the Drillhole | Drillhole Log tab, in the Edit group.
If you click the New Frame tool, you can draw the frame by clicking and dragging on the drillhole log where you want to position the frame.
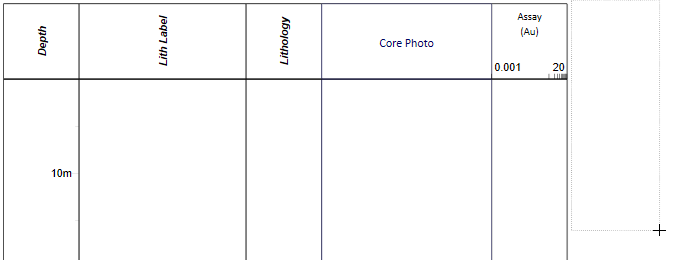
When you release the mouse, the Select Frame Type dialog is displayed:
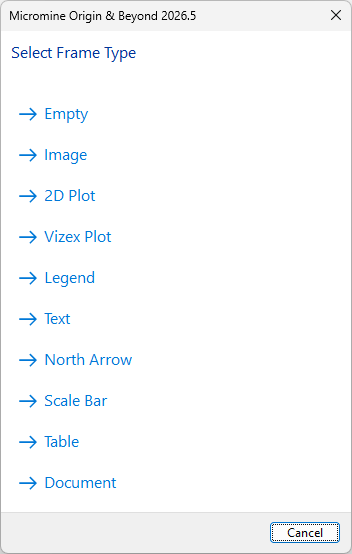
For information on the available frame types, see Working with plot frames.
Select the type of content to be displayed in the frame from the list of available types. The corresponding form will be opened - for example, the Image form:
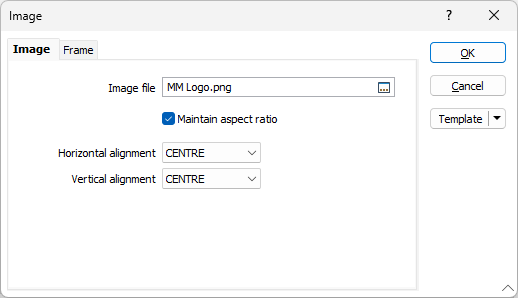
You can configure the new frame in the drillhole log using the tabs and fields in the form.
The configured Drillhole Log can be managed and edited using the tools in the Drillhole Log ribbon. See Tools.