Interval Hatch
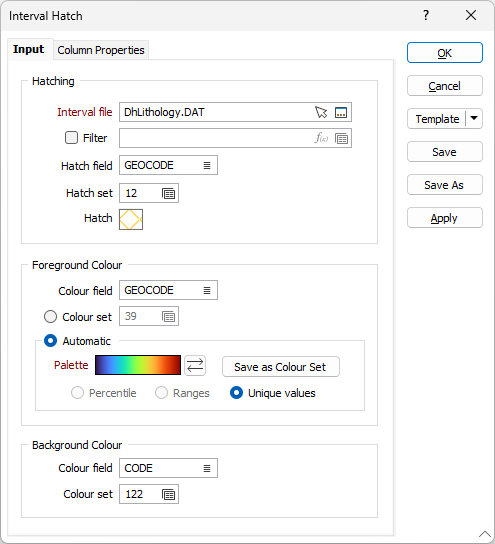
On the Input tab of the Interval hatch form, select the input data for Hatching and set fill pattern and colour options.
Hatching
Interval File
Double-click (or click on the Select icon) to select the name of the file that contains the data you want to display. You can also click the Pick from Vizex button to collapse the form and interactively select a layer containing the file to be inserted and return to the form.
Optionally, select or create a filter to limit the data that is processed.
If you select the Filter check box, you can select an existing filter or create one using the Expression Editor by clicking the icon.
A filter can be useful when you want to apply a restriction on a field other than the one being displayed, for example, to show the assays in a particular zone, or show the assays for specific holes.
Hatch field
Double-click to select the name of the field containing the data that will control the hatching. The hatch set that is associated with this field, maps hatch patterns to text strings or numeric ranges. For each record in the file, the hatch pattern that will be used is determined by the value in this field.
Hatch set
Double click (F3) to select the set that will be used to control the hatch pattern. The hatch set maps hatch patterns to text strings or numeric ranges. This determines the hatch pattern for each value in the hatch field. Right click (F4) to create or edit a hatch set.
Hatch
Double click on the Hatch icon to select a default hatch pattern. This will be used when a hatch set is not defined, or when the value in the hatch field is not mapped in the hatch set. The default hatch setting if you do not specify a Hatch is Solid.
Foreground Colour and Background Colour
Set the hatch foreground and background colours.
Colour field
Specify the name of a field which contains the values that will be used to colour-code the display.
You can choose to select colour values directly from the Colour field without selecting a Colour set. In this case, the values in the Colour field must be valid RGB, Hex, or Integer colour definitions.
| Format | Example |
|---|---|
| R,G,B | 89,169,215 |
| HTML Hex | #59A9D7 |
| Hex | 0x59a9d7 |
| int | 5876183 |
Colour set
To map values in the Colour field to the colour values in a Colour set, double click (F3) to select the set that will be used to control the display colour. Right-click (F4) to create or edit a Colour set.
Automatic
Select Automatic to select a palette and automatically apply colour ranges to the data. The Save As Colour Set button provides the option to save the result as a colour set.
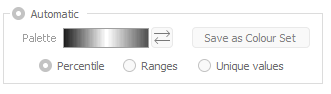
Note that the auto colour set controls are disabled when a Colour field is unspecified:
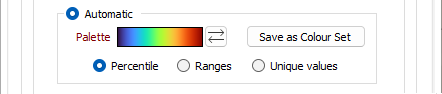
Choose a mode of calculation:
| Mode | Description |
|---|---|
| Percentile | The application will divide the data into ranges each containing the same number of values; the highest and lowest value in each bin will define the upper and lower values for each range. |
| Ranges | The data will be divided into equal ranges. |
| Unique values | A colour will be assigned to each unique value. |
Automatic colour settings will be applied by default when you:
-
Create a new drillhole log from a .dhdb file with display options that have a blank colour set value (as is the case with Vizex forms), or
-
Drag-and-drop a Vizex form that uses an automatic colour set.
You can also apply hatching to graphs displayed on a drillhole log.