Workspaces
A Nexus workspace allows you to collaborate on group activities as part of a team and might be set up to represent a department or division of your organisation, or a mine site or region, making it easier to securely manage and deliver information and data which is relevant to a particular audience.
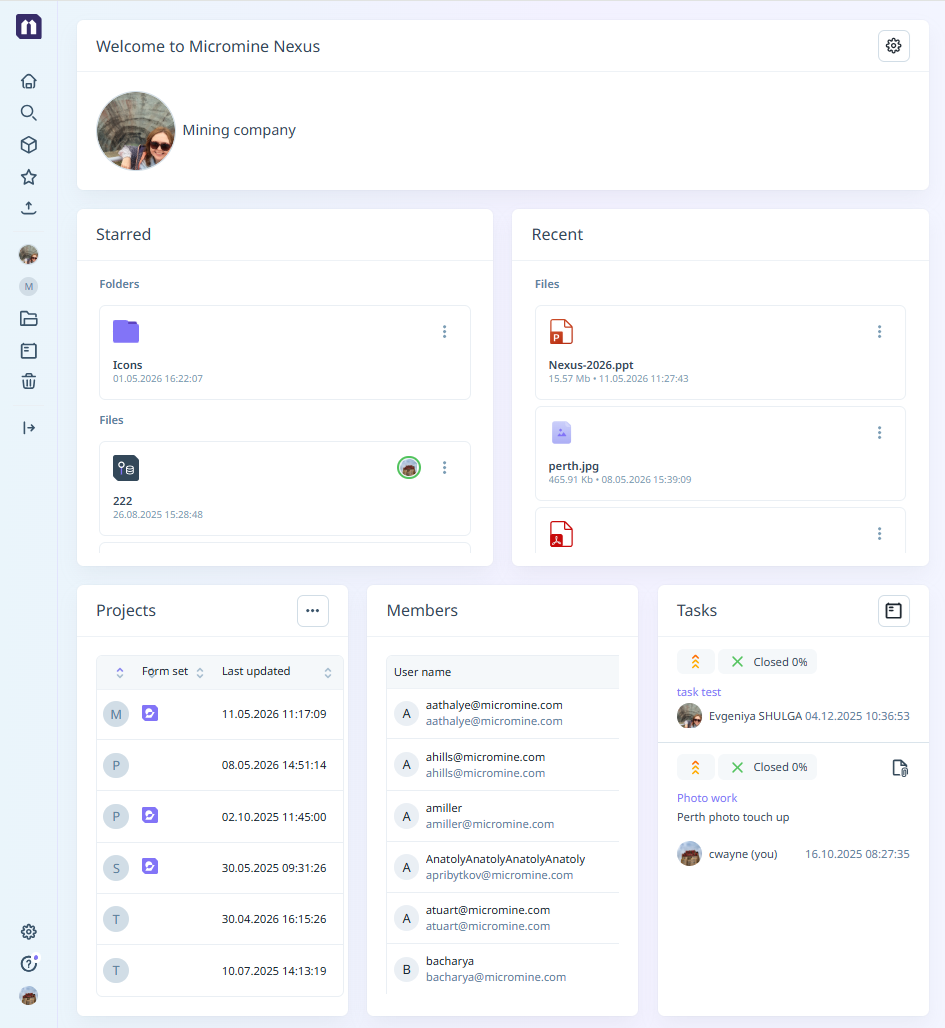
When you sign-in to Nexus, the Workspace home page is displayed. The workspace home page is your starting point when working in Nexus.
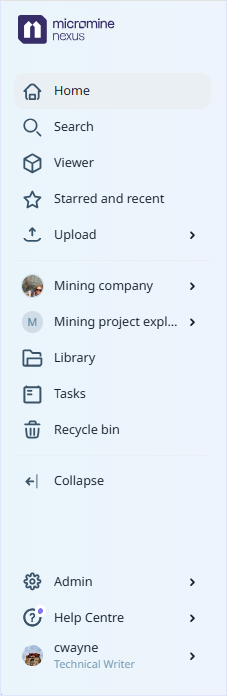
The options available to you in the left-hand Navigation menu, will depend upon your subscription plan and your (admin or user) role.
The Home option will return Nexus to the Home page from any other page.
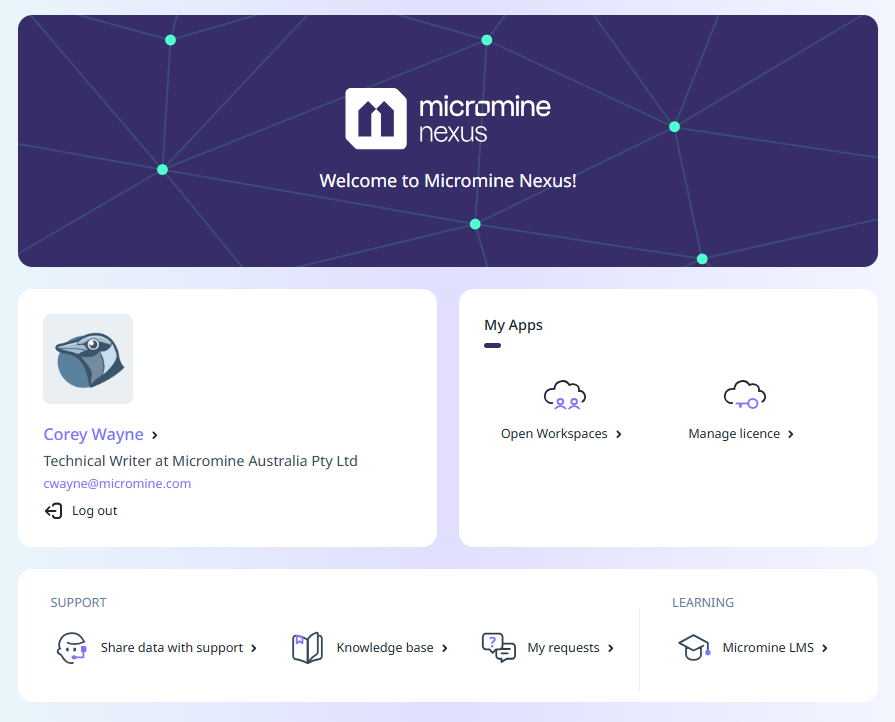
The Nexus logo at the top of the menu will open the Micromine User Home, where you can manage your Account and Licences (with permission) and open Workspaces to which you have access:
The Collapse option will collapse the left-hand menu to provide more space at the right.
|
|
|

If multiple workspaces are supported, you can select between them:
-
Click on <the name of the current workspace>.
-
Select an option from the Workspace menu:
-
Select from a list of Recent Workspaces
-
View All Workspaces
Starred and Recent
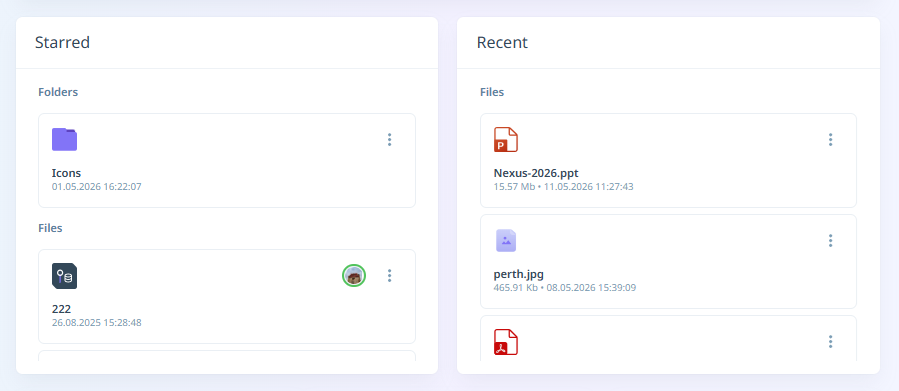
On the Workspace Home page, the Starred and Recent sections display starred files and folder, and recent files and folders for your profile:
For each file/folder listed in the Starred or Recent section, you can navigate to it using the Go to Location option on the More menu for the file/folder you want to view:
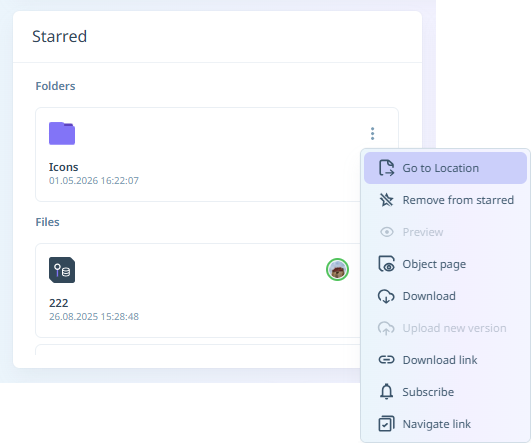
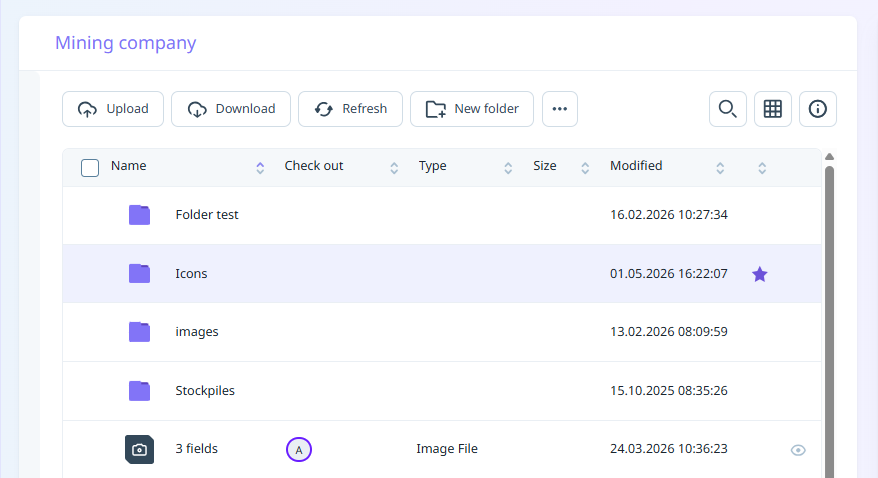
This will open the file / folder selected in its location - i.e. the Project or Library.
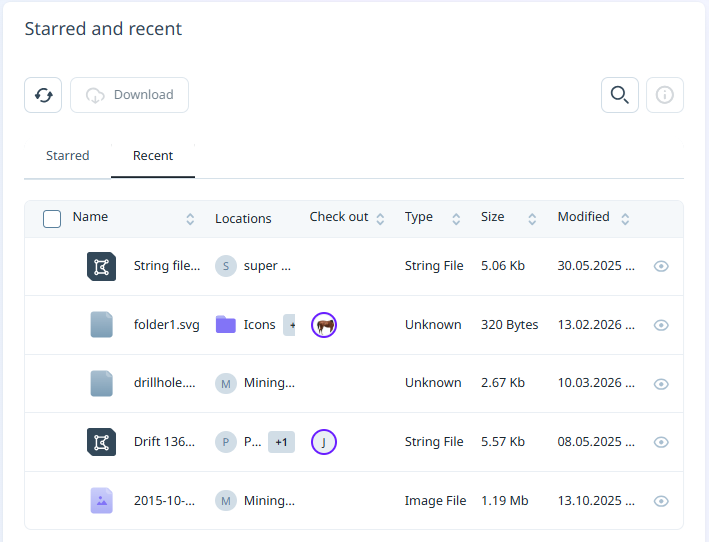
Throughout Nexus, where applicable, you can select Other | Add to Starred for an object to favourite it. The Starred objects will be displayed in the Starred tab of the Starred and recent section for your Workspace. This section is displayed on the workspace Home page, or can be opened from the main menu at the left via the Starred and recent option:

The Recent tab in the Starred and recent section for the Workspace (as well as the Recent panel on the Home page) displays a collection of the most recent files you have interacted with:
Files will be listed in the Recent section if you have interacted with them in any of the following ways:
-
Edited (Uploaded a new version, Edited attributes or description, Renamed, Version label)
-
Downloaded
-
Created
-
Shared (Navigation link, Download link)
-
Viewed (Object page, Viewer)
-
Commented on (Comments)
-
Moved or copied
-
Checked in/out
The Recent section is a personal panel - the listed files are your personal recent work. No other user can login to this workspace and view your Recent files. The list updates automatically and cannot be cleared manually.
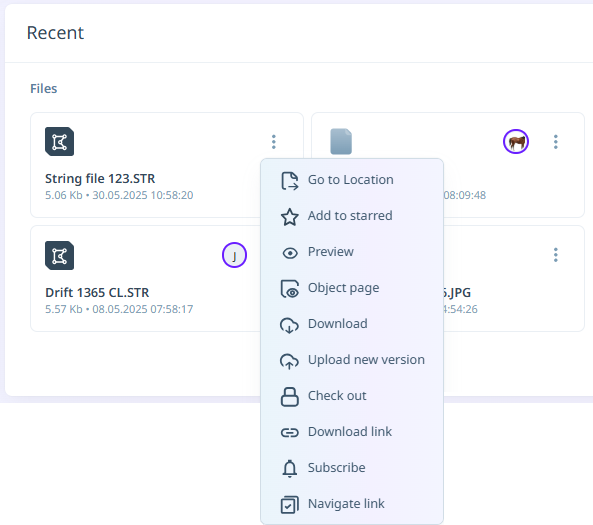
From the listed file/s in the Recent panel on the Home page, you can use the More menu to go to the location for the file, add or remove from Starred, open the Object page, Download the file, upload a new version, Chek In/Check Out and more:
The list of files is sorted by most recent interaction time. Older files will disappear from the list over time, even if they have not been deleted. If access to a file is revoked for the user, that file will disappear from the Recent list.
Projects
A Nexus project is typically a container for files which serve to achieve a single outcome, for example, a finalised block model or a periodic mining plan. You can link to a project when you integrate other Micromine applications with Nexus.Version control is applied at the file level. See: Projects
Note that Nexus project storage is completely independent of workspace library and task storage.
To get started with Nexus projects, from the Navigation menu:
-
Click on <the name of the current project> or, if no project has yet been selected, click on No Project Selected.
-
Select an option from the Project menu:
-
Select from a list of Recent Projects
-
View All Projects
-
Set Project Settings
-
Create a Project
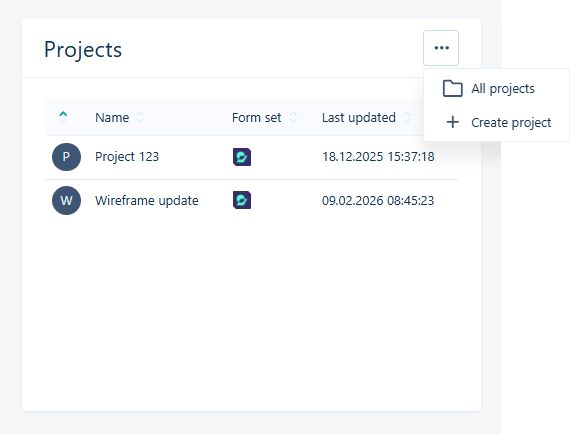
You can also select a project from the Projects panel in the Welcome screen, or show All Projects and Create a Project using the ellipsis at the top right:
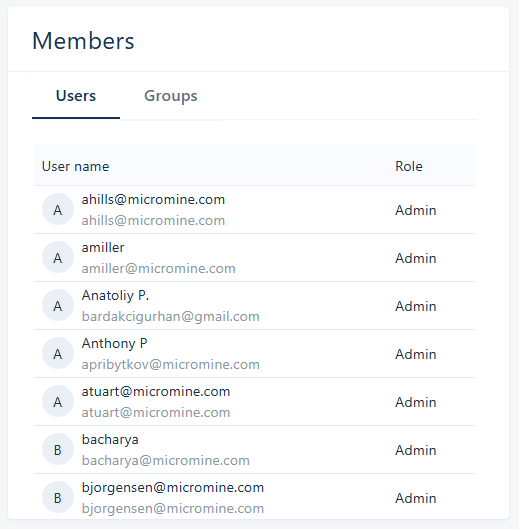
Members
Your user name is listed in a Members pane (along with the user names of other users who have access to the workspace):
You can view more information about a Member by hovering on their avatar:
![]()
Administrators have a star icon displayed with their avatar.
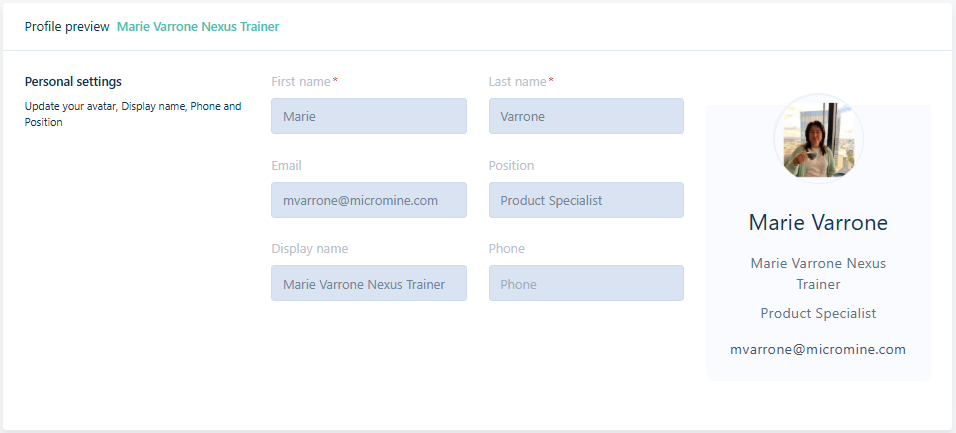
If you click the View full profile button on the information panel that appears, the profile preview for that Member will be displayed.
For information on adding Members to the workspace, see Permissions.
Tasks
The Tasks for the current workspace are displayed in the Tasks panel.
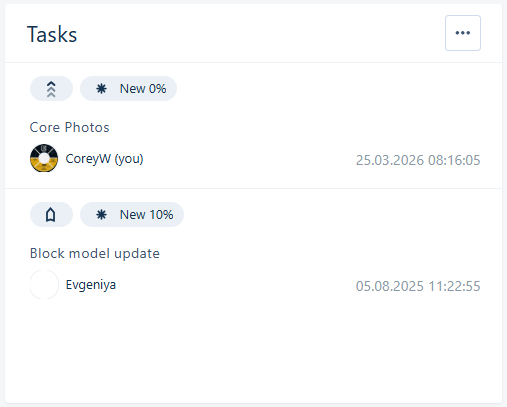
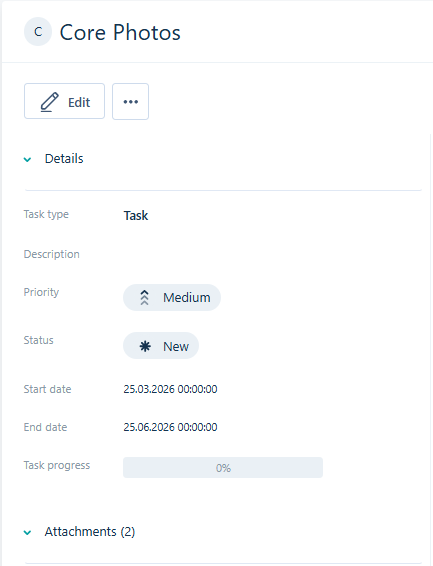
You can access the details of a task displayed in the panel by selecting the task name.
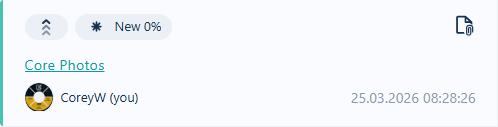
The details will be opened in a new page.
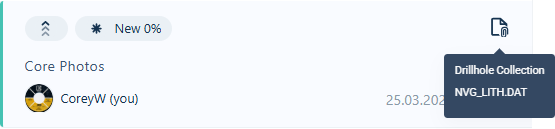
If a task has any attachments, an icon is displayed in the entry on the Tasks panel. You can click the icon to view the attachments in the page for the selected Task.
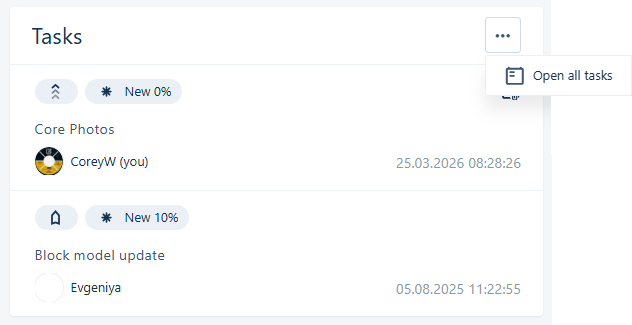
You can also display all tasks for the current workspace using the ellipsis at the top right of the Tasks panel on the Welcome page.
For information on creating and modifying tasks for the workspace, see Task Manager.