

Apply Transform

Transforming data involves using an expression to prepare data for scoring and to be used to build a model.
Transform
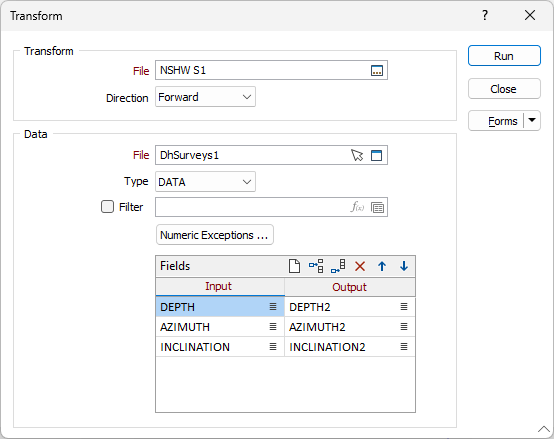
In the Transform section of the form, you can select the Transform file to be used and select a direction for the transformation.
File
Double click in the File field or click the Select icon to specify the Transform file (.mmtransform) created with the Normal Scores Transform tool to be used for the transformation.
Direction
Select whether to perform the transformation Forward or Backward.
Select the Forward option to apply the transform file/s specified per Domain and Attribute to the input data to produce standard normally distributed data. If the option is not checked, the data will be assumed to be already standard normal. Transformation will only be applied for an attribute/domain if the Transform File field is correctly populated.
If you select the Backward option, all realisation outputs in the output file (not the nodes file) will be back transformed to restore the original data distribution space. Transformation will only be applied for an attribute/domain if the Transform File field is correctly populated.
Data
File
In the File field, specify a file to be transformed with the specified Transform file in the selected direction.
Select a file type and double-click (or click on the Select icon) to select the name of the input file.
Optionally, select or create a filter to limit the data that is processed.
If you select the Filter check box, you can select an existing filter or create one using the Expression Editor by clicking the icon.
Numeric Exceptions
Click the Numeric Exceptions button to open the Numeric Exceptions dialog.
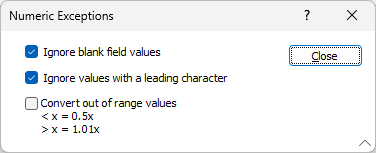
Detailed information on the options in the dialog are contained in Numeric Exceptions. Select the required configuration and click Close.
Fields
In the Fields grid, you can specify the fields from the specified File to be transformed using the transform file.
Use the buttons on the local toolbar to Manage the rows in the list.
Input
Click the list icon in the Input field to select the field from the Data file to be transformed.
Output
Click the list icon in the Output field to select the field from the input file to which transformed data will be written.
Run
Click Run to perform the transformation as configured and write the data to the specified fields/file.
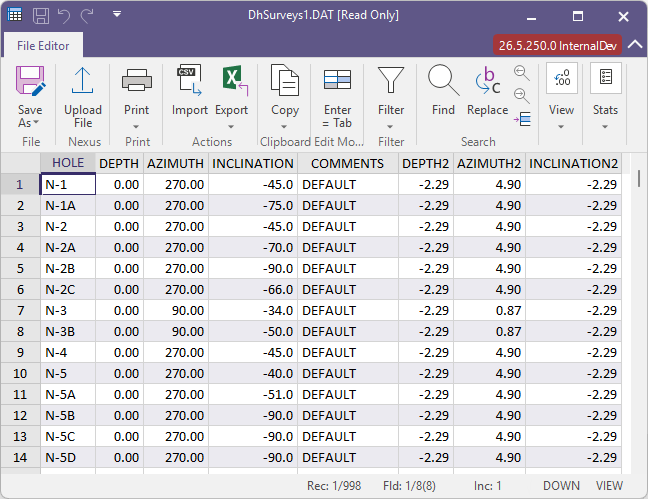
When the transformation is completed, you can right click in the Data File field and select View to view the results of the transformed data:
Forms
Click the Forms button to select and open a saved form set, or if a form set has been loaded, save the current form set.
By design, the Forms button is not available for loaded Vizex layers (i.e. when opening the form set properties of a layer in the Vizex Layer Display pane). In Vizex, the Forms button is only available for new forms opened via the Home tab or the Vizex tab, in the Layer group (or by double-clicking on a form type node in the Vizex Layer Types pane).
Save and Save As
Click the Save button to save the changes you have made to the form set. Click Save As to save your changes as a new form set. Save As will default to the first available form set number.
Manage
Click Manage to open the Form Set Manager for the current form.
Reset
Click Reset to clear the form of all values and reset the form to its default state.
Reset Tab
For tabbed forms, select Reset Tab to clear the active tab of all values and reset the tab to its default state - without making any changes to other tabs in the dialog.
Undo and Redo
Click Undo (CTRL + Z) to undo recent changes in the form. After an Undo, click Redo (CTRL + Y) to restore the last change that was undone.
Collapse
Collapse (roll-up) the form to preview a chart, or preview the results of an operation in Vizex, or obtain input values from Vizex, the Property Window, the File Editor, or the Plot Editor.