

Output
In the Output tab of the form, specify the name of the Output file and the strings and codes that will be written to it.
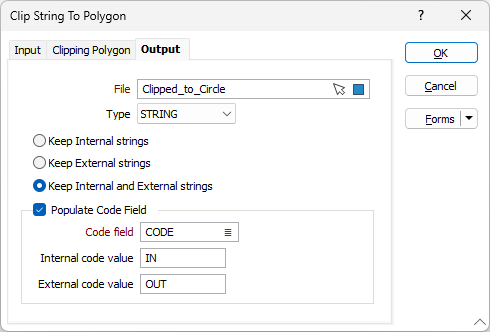
File
Select a file type and enter (or double-click (F3) to select) the name of the output file. You can also click the Pick from Vizex button to collapse the form and interactively select a layer containing the file to be inserted and return to the form.
Note: If you are selecting an existing file, the Output file must have the same structure as the Input file.
Keep internal strings
Select this option to retain only those string portions that are situated inside the clipping polygons.
Keep external strings
Select this option to retain only those string portions that are situated outside the clipping polygons.
Keep internal and external strings
Select this option to retain all strings and write Internal and External code values to the output file.
Populate Code field
If you are keeping internal and external strings, then you should nominate a Code field and specify the Internal and External codes that will be written to the output file. If you are only keeping internal or external strings, you may not need to differentiate the strings written to the output file. The option is still available however.
If the Code field exists, the contents in that field will be overwritten. If the specified Code field does not exist, it will be created as a Character type field. The width of the field will be large enough to accommodate the specified code value (if only one code is specified) or the longer of the two values (if two codes are specified).