Scheduling Tasks with Equipment
This topic describes how to add tasks to the path of equipment, and then run the model to generate a schedule.
-
Using the Grid to drag-drop existing Tasks
-
Using the Grid to create Delays
-
Running the Schedule
-
Looking at the output of the Schedule
-
Using the Grid to drag-drop Tasks
Using the Grid to drag-drop existing Tasks
To open the equipment you want to add to a path:
-
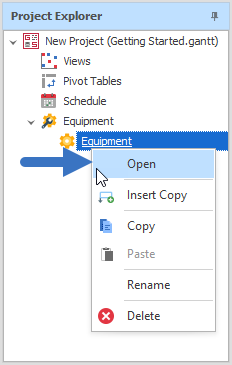
Right-click the piece of Equipment you are setting up and select Open.
-
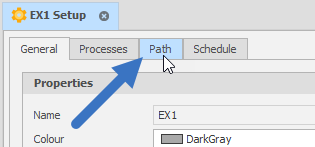
Click the Path tab of the Equipment Setup dialog.
Allocate tasks
Allocate tasks by dragging them from the Tasks list to the Path list:
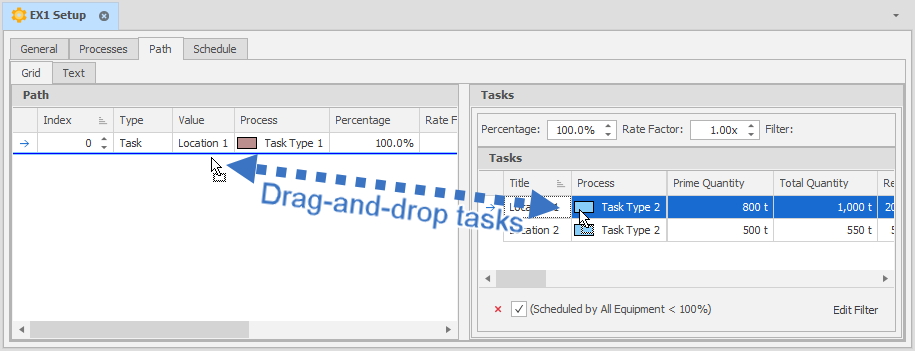
Note: To de-allocate tasks you can drag them from the Path list back to the Tasks list of a piece of equipment.
Reorder tasks
-
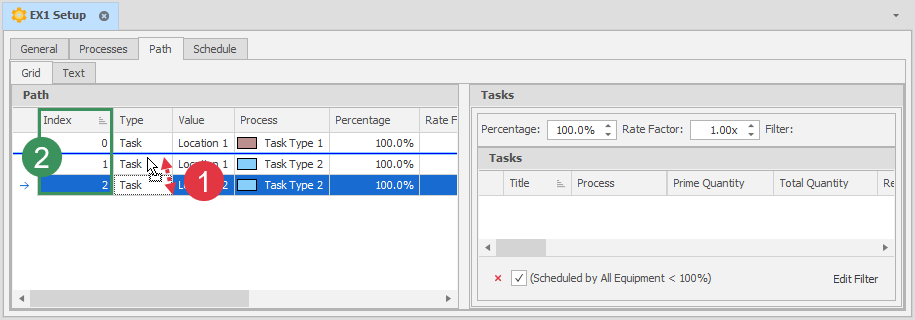
Reorder tasks by drag-and-drop or;
-
Change the index of a task to move it.
Using the Grid to create Delays
-
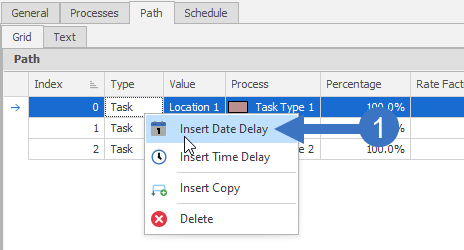
Right-click a task and select Time Delay.
-
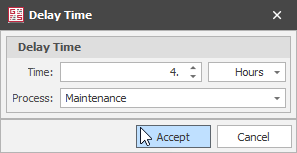
Set details for Delay (duration and type) and click Accept.
Running the Schedule
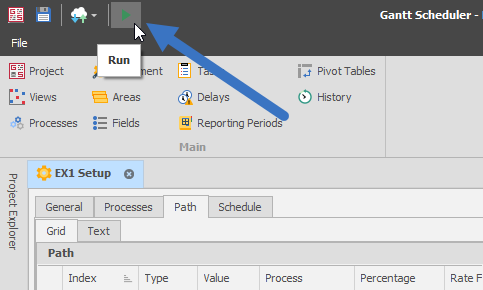
Click the Run button in the top ribbon bar:
The Output Schedule
Opening the Output Schedule
-
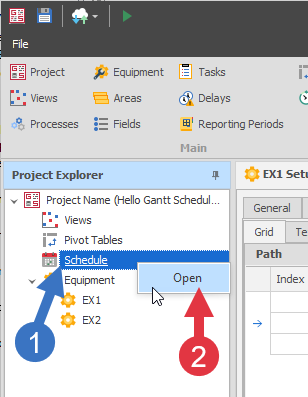
Right-click Schedule in the Project Explorer.
-
Select Open.
Navigating the Output Schedule
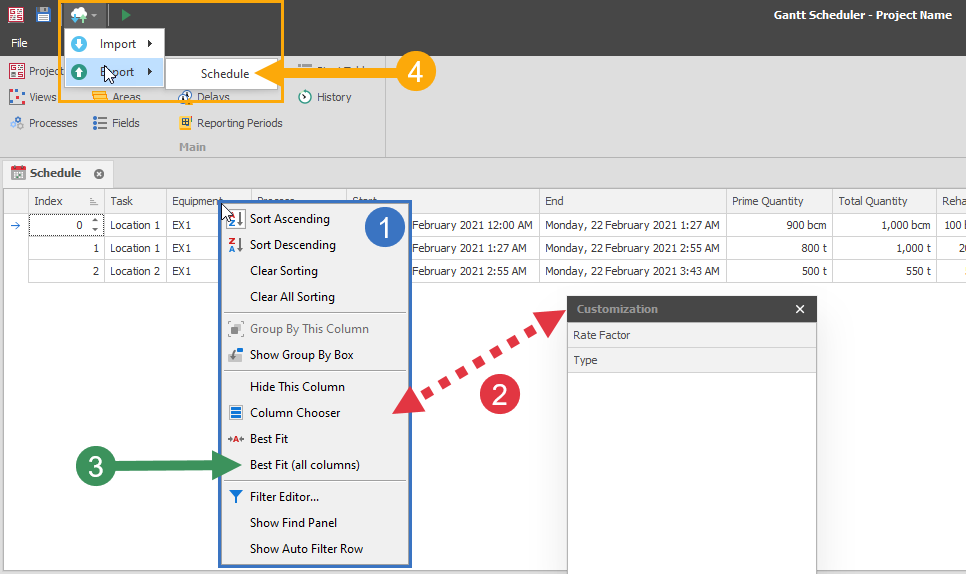
The Output Schedule is a standard Grid View. See the universal documentation around Grid Views here or check the Quick Summary below.
Quick Summary
-
Right-click in the header to access common grid functions.
-
Use the Column Chooser to access additional columns and drag them into the headers.
-
Best Fit (all columns) makes the best use of the available space.
-
Export the Schedule from the Import/Export dropdown.