Zone Group
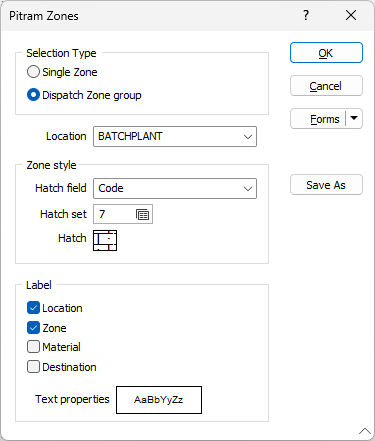
Use the Pitram Zones tab to select a single zone or a Dispatch group to be displayed and configured for the Zone Group layer.
Zones are configured in the Pitram Reference Edit service. A zone is an area on site defined by a closed boundary. To identify the boundary of the zone, a polygon is digitised in Micromine Australia Pty Ltd (preferred) or some other third-party application. Each zone is defined in terms of a material type.
Zones are used to validate the movement of material between a source and a destination. The source, the destination, and the material moved must all have a material type that matches the zone. If there is any disparity, a warning is displayed on the Operator's Pitram Mobile screen. A similar warning message is issued to the Control Room Operator.
For example, if Zone_A is defined as:
|
Selection Type
Use the available options to select whether the display is a Single Zone or a Dispatch Zone group.
Zone / Location
Select the Zone for a Single Zone display, or the Location for the Dispatch Zone group display from the drop down.
Zone Style
The Zone Style options are used to select the Hatch display settings for the layer.
Hatch Field
Specify the field in the input file which contains values that determine the Hatch displayed for the zone/location.
Hatch Set
Optionally, double click (F3) to select the hatch set that will be used to select a Hatch pattern to display the zone/location. The hatch set maps hatch pattens to text strings or numeric ranges. This determines the hatch pattern displayed for each value in the selected Hatch field. Right click (F4) to create or edit a hatch set.
Hatch
Double click the Hatch box to open the set and select a hatch pattern for the zone/location display.
Label
Use the options in the Label section to select the elements to be labelled for the displayed zone/location - Location, Zone, Material and Destination.
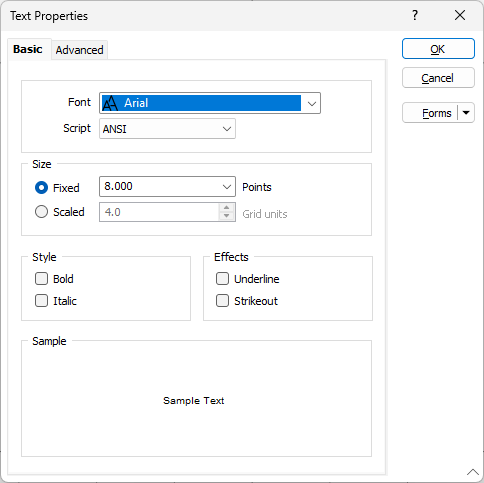
Double click the Text Properties preview to select a font to be used to display the text annotation.
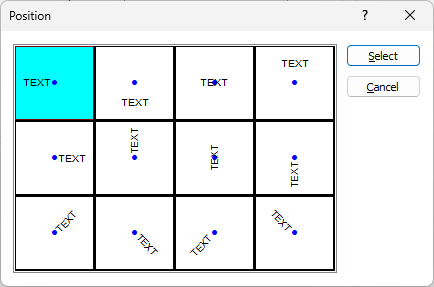
Position
Position the point annotation. Annotation can be located at one of twelve positions around the point. Double-click (F3) to open the dialog box from where you can select a suitable position.