Concatenate

The Concatenate tool can accept two or more files of the same or different types and overwrite or append them all to produce a new file. A source file field can be optionally added to provide a field in the output that states the name of the source file from which the data originated. The tool supports specifying a join field, with values incremented when needed.
One situation where the Concatenate tool can be useful is when your files become very large.
For example, when you merge new assay results into a large file, it can be more efficient to create a new file with the same structure as the main file, import the new data and manipulate it, and then append the file to the original database. Note that file structures must be the same.
To change a file structure so it can be used in Concatenate, use Modify File Structure on the File tab, in the Actions group.
You can concatenate files from the same or from different projects.
- On the File tab, in the Actions group, click Concatenate.
-
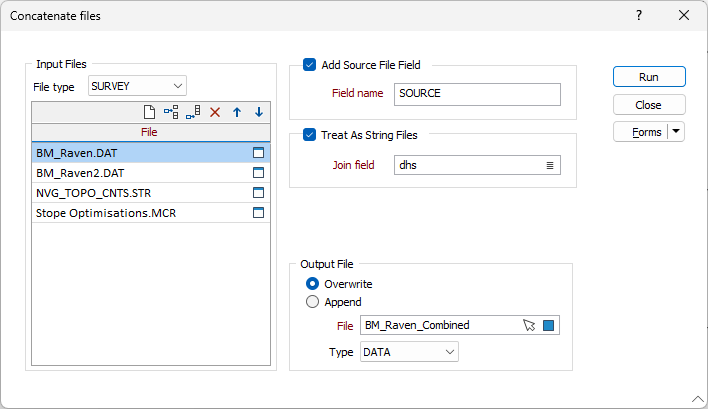
Select the File Type for the first file to be added to the Concatenate Files form.
-
Double click (F3) or click the folder icon to select the required File and add it to the grid.
Use the buttons on the local toolbar to Manage the rows in the list.
- Repeat the process for each file you want to add to the form.
When all of the required files are added to the File grid:
- Select the Add Source File Field option if you want to create a field in the output that states the name of the source file from which the data originated.
- Enter the Field name in the text box provided.
- Select the Treat As String Files option if you want to specify a Join field with which to concatenate / append the files.
- Use the list button to select the Join field from the input files.
In the Output File group,
- Select whether to Overwrite or Append the output File.
- Double click (F3) or use the select icon in the File field to select the output file.
You can also click the Pick from Vizex button to collapse the form and interactively select a layer containing the file to be inserted and return to the form.
The file Type is automatically selected, and can be modified if required.
When the relevant files have been added and the form configured as required,
-
Click Run to concatenate / append the selected files.
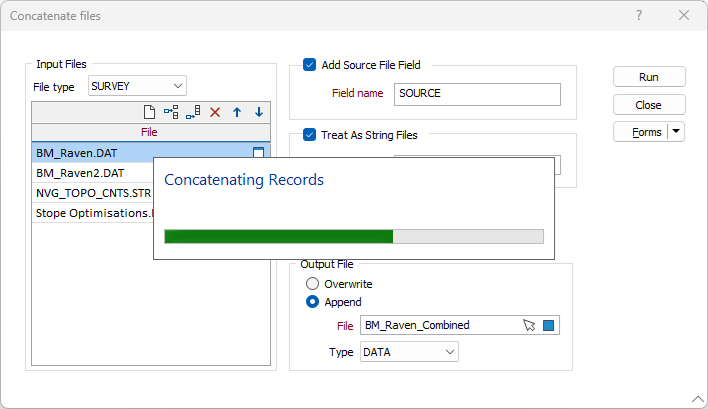
A progress information prompt will be displayed.
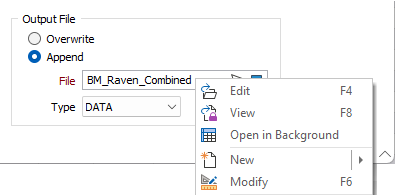
When the process is complete, your specified Output File can be opened and viewed from the right-click context menu in the form: